Android Studioでのレイアウト学習する動画です。
GUIで作成せずTextタブ(XML)でボタンを配置することでXMLの理解を深めます。
この動画は「アプリ新規作成」を済ませた状態でご覧ください。
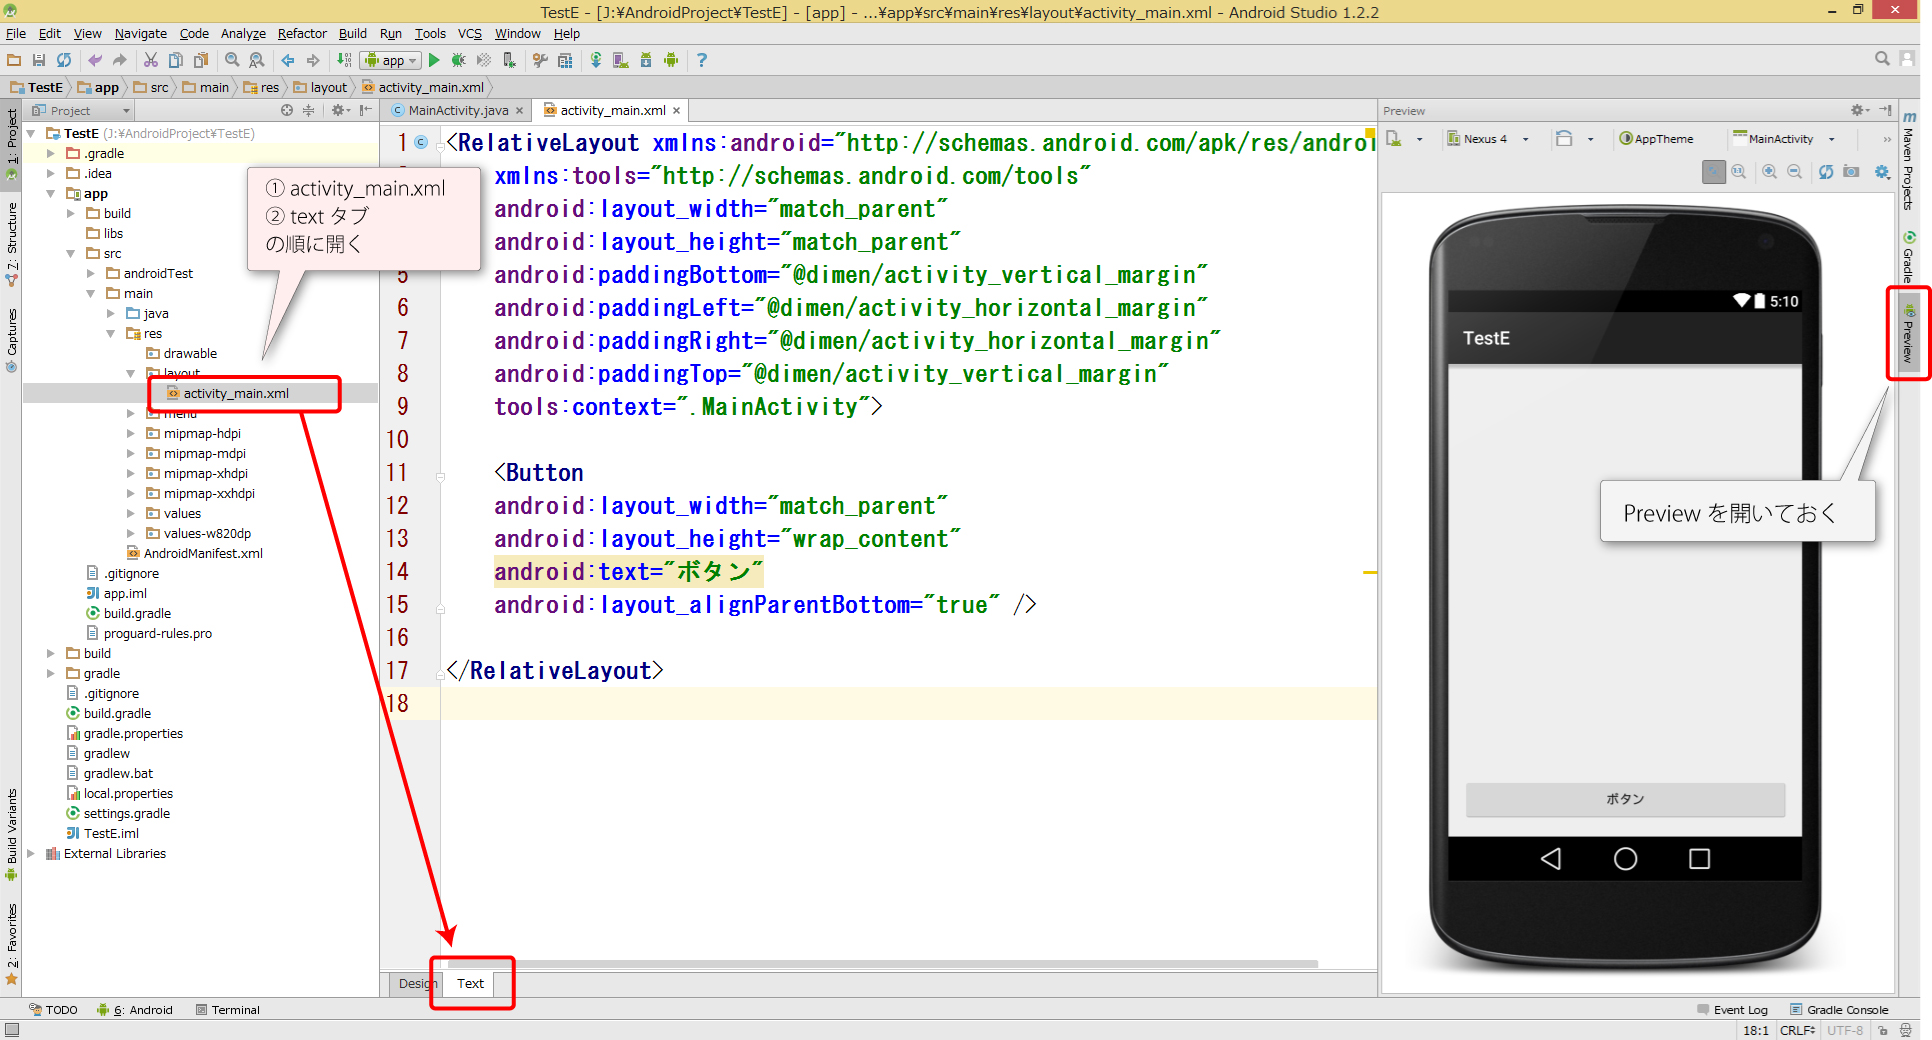
編集の流れ
activity_main.xml(完成)
<RelativeLayout xmlns:android="http://schemas.android.com/apk/res/android"
xmlns:tools="http://schemas.android.com/tools"
android:layout_width="match_parent"
android:layout_height="match_parent"
android:paddingBottom="@dimen/activity_vertical_margin"
android:paddingLeft="@dimen/activity_horizontal_margin"
android:paddingRight="@dimen/activity_horizontal_margin"
android:paddingTop="@dimen/activity_vertical_margin"
tools:context=".MainActivity">
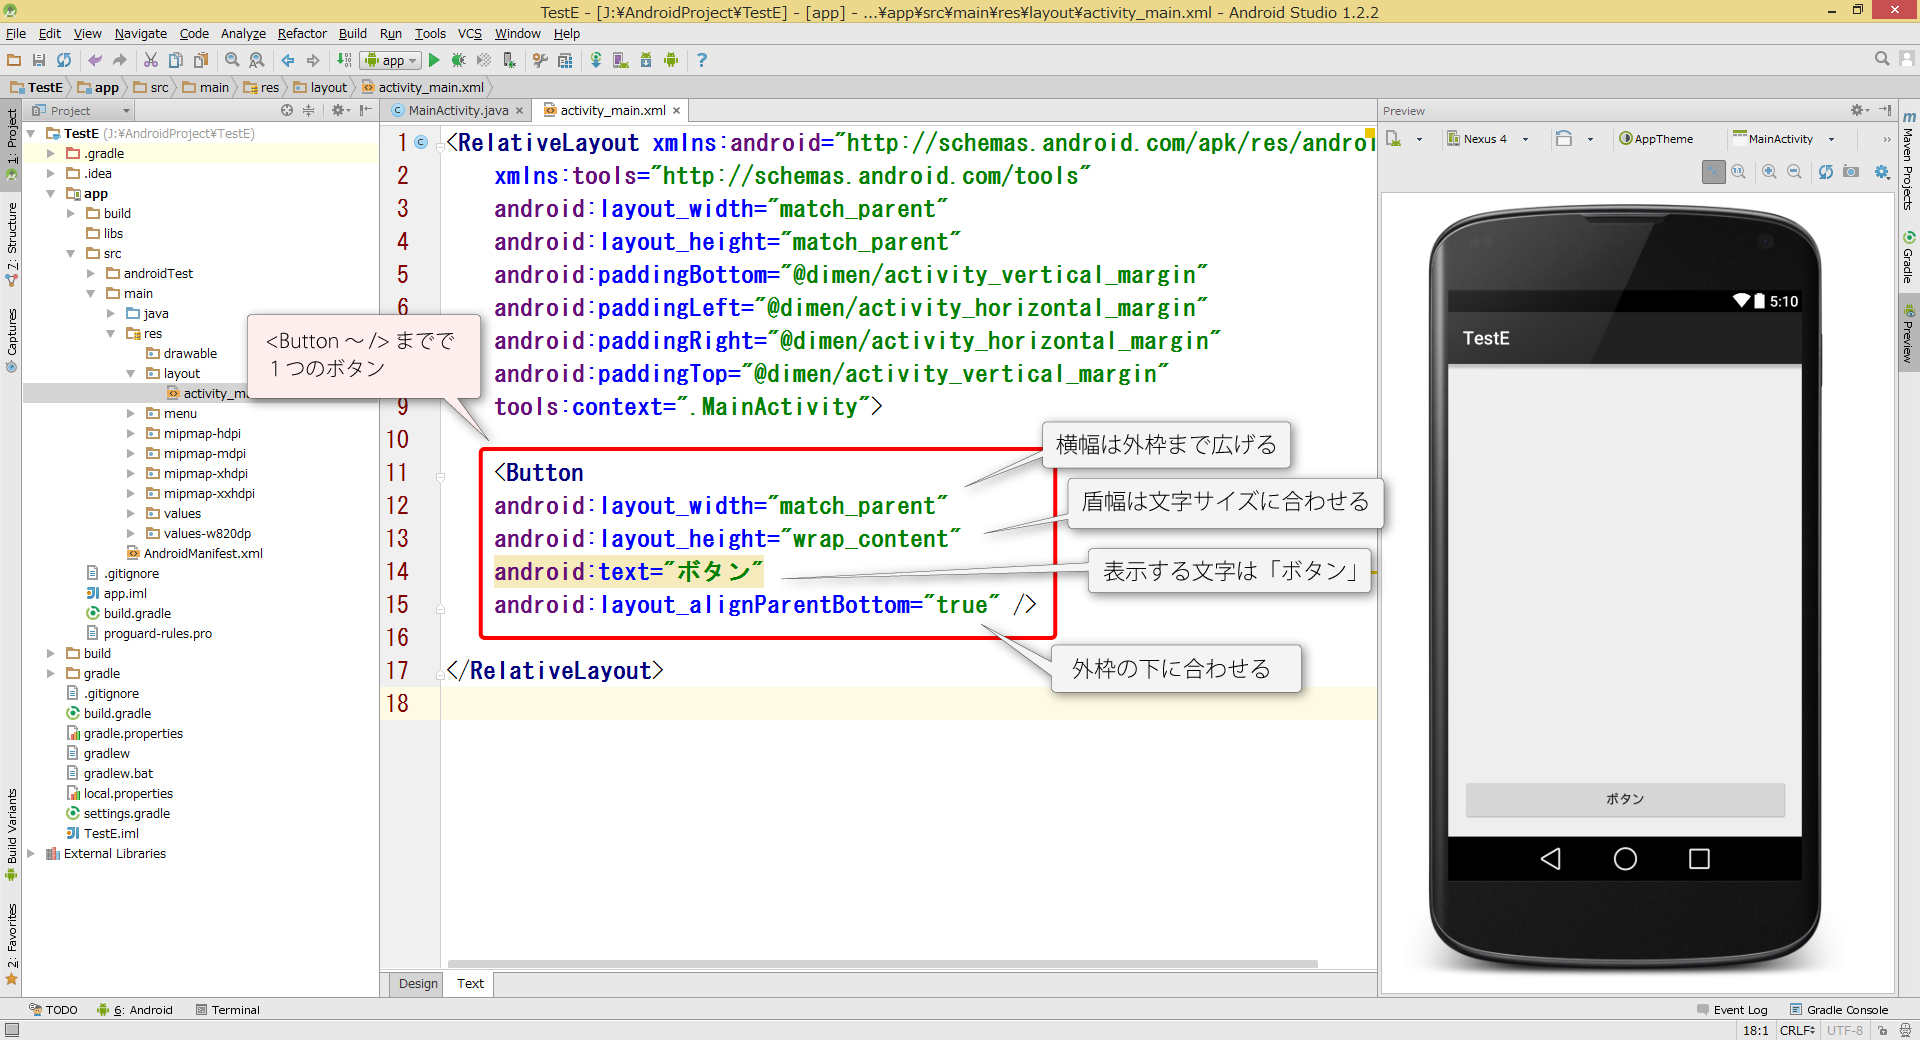
<Button
android:layout_width="match_parent"
android:layout_height="wrap_content"
android:text="ぼたん"
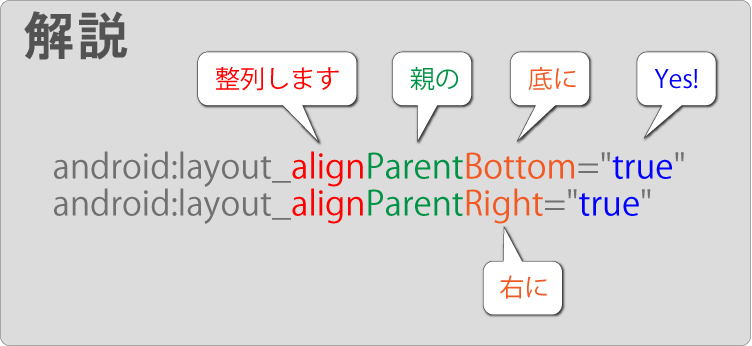
android:layout_alignParentBottom="true"
/>
</RelativeLayout>