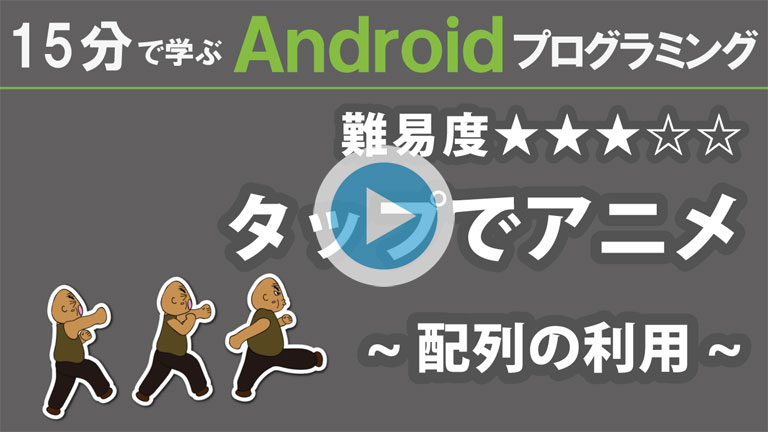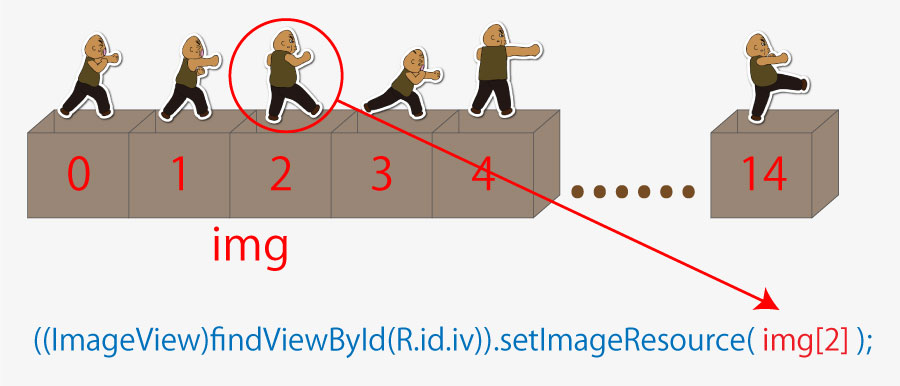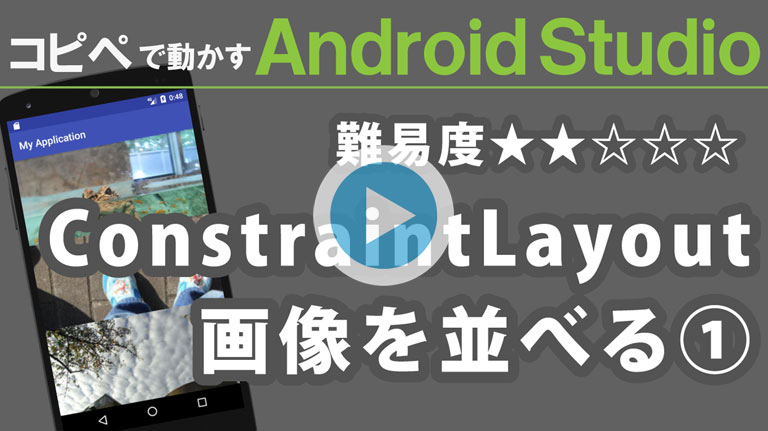
サイズの違う画像を並べて表示します。
少々ややこしいので4回に分けて解説したいと思います。
・画像を並べる ①
・画像を並べる ②
・画像を並べる ③
・画像を並べる ④
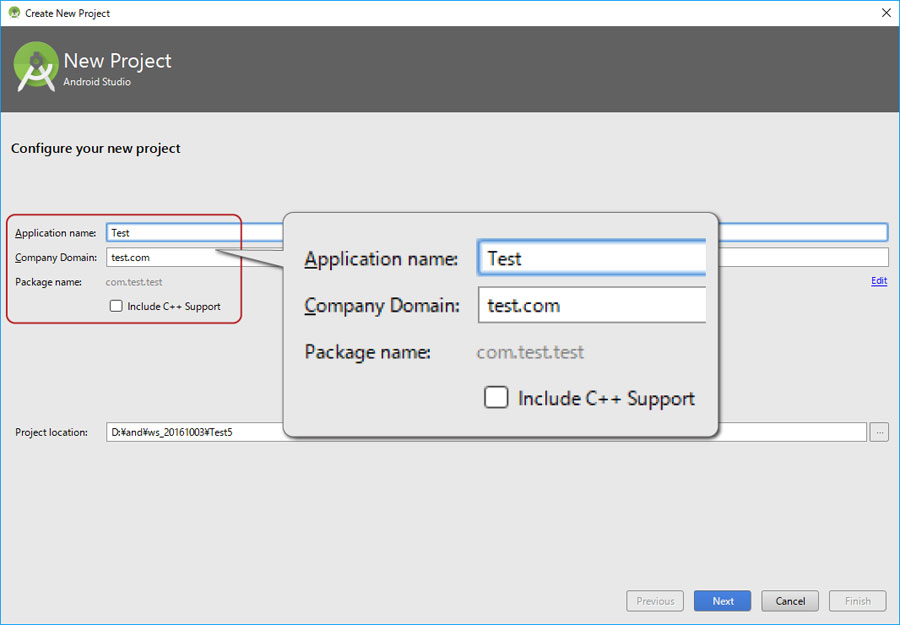
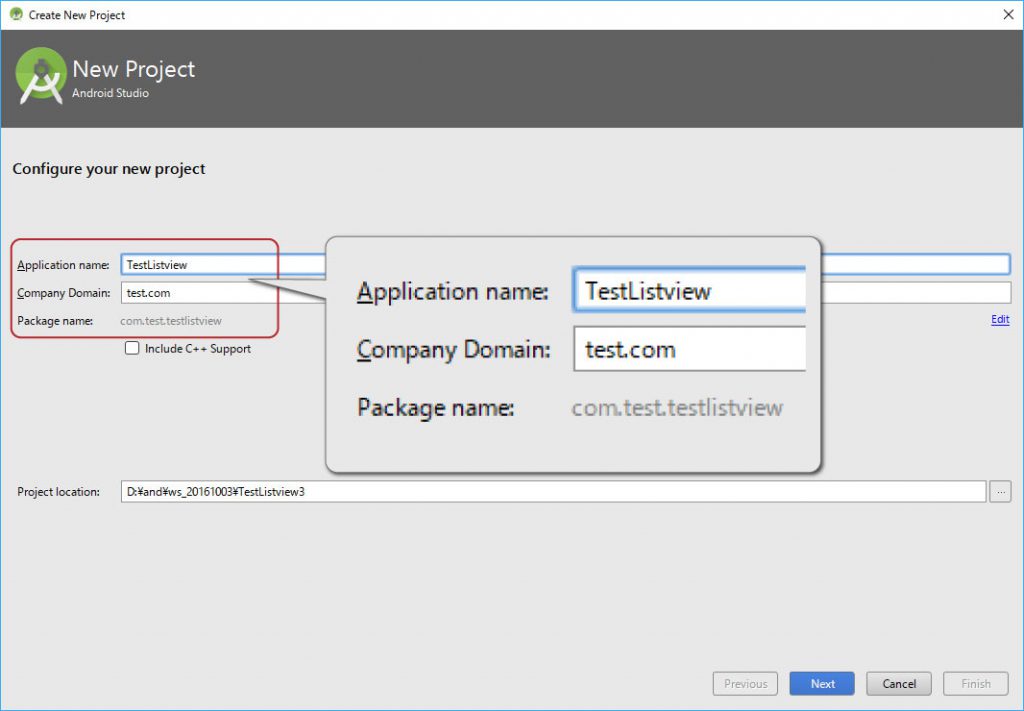
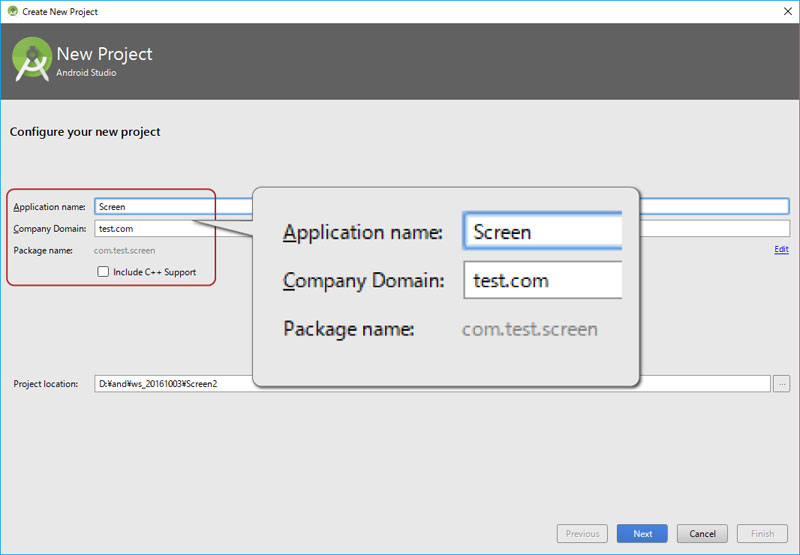
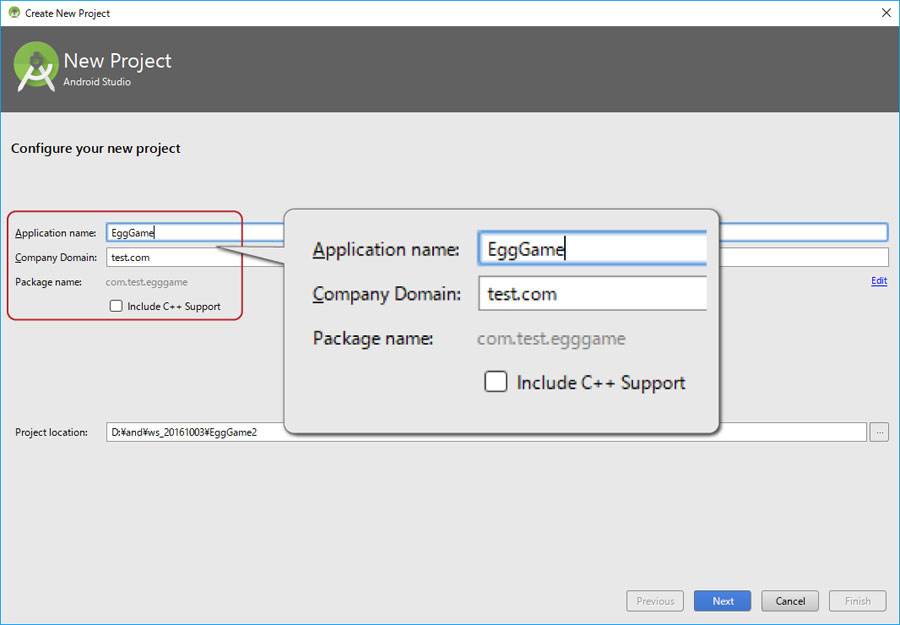
プロジェクト名
プロジェクト、カンパニードメイン、パッケージネームを同じにするとコピペエラーが減ります。
Application name My Application
Company Domain test.com
Package name com.test.myapplication
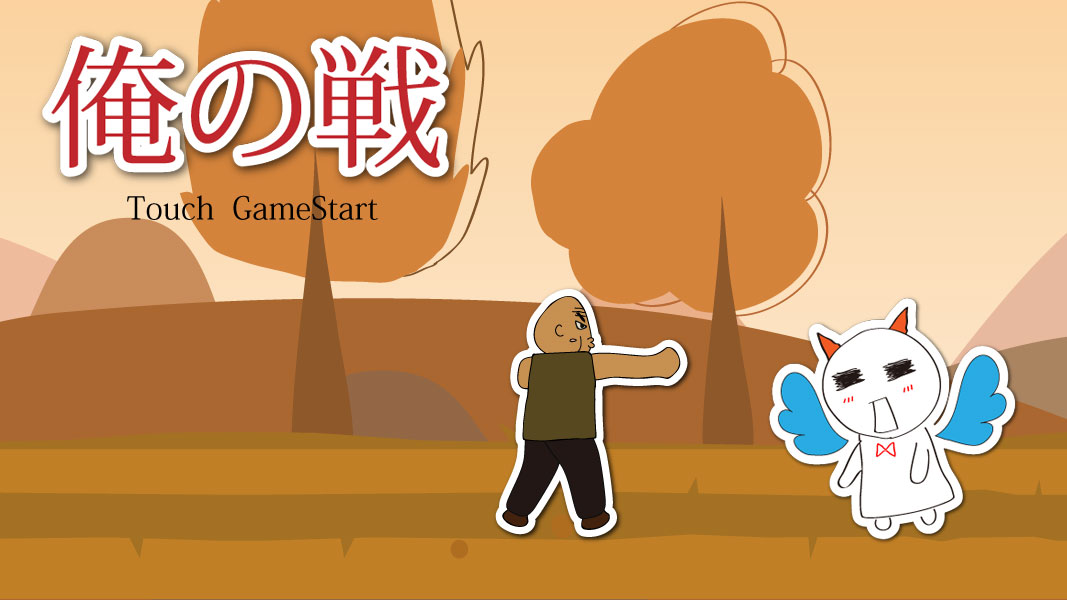
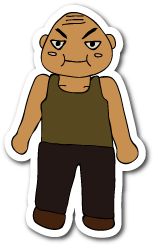
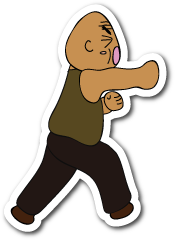
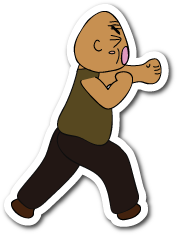
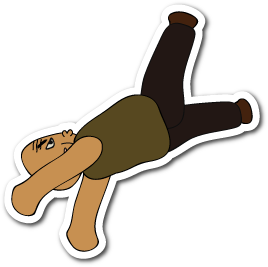
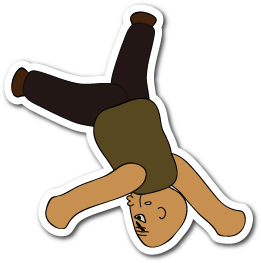
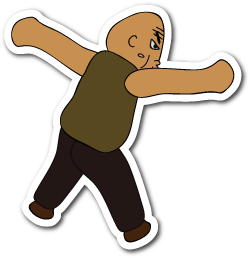
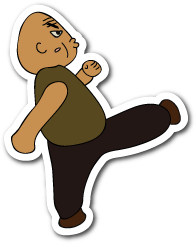
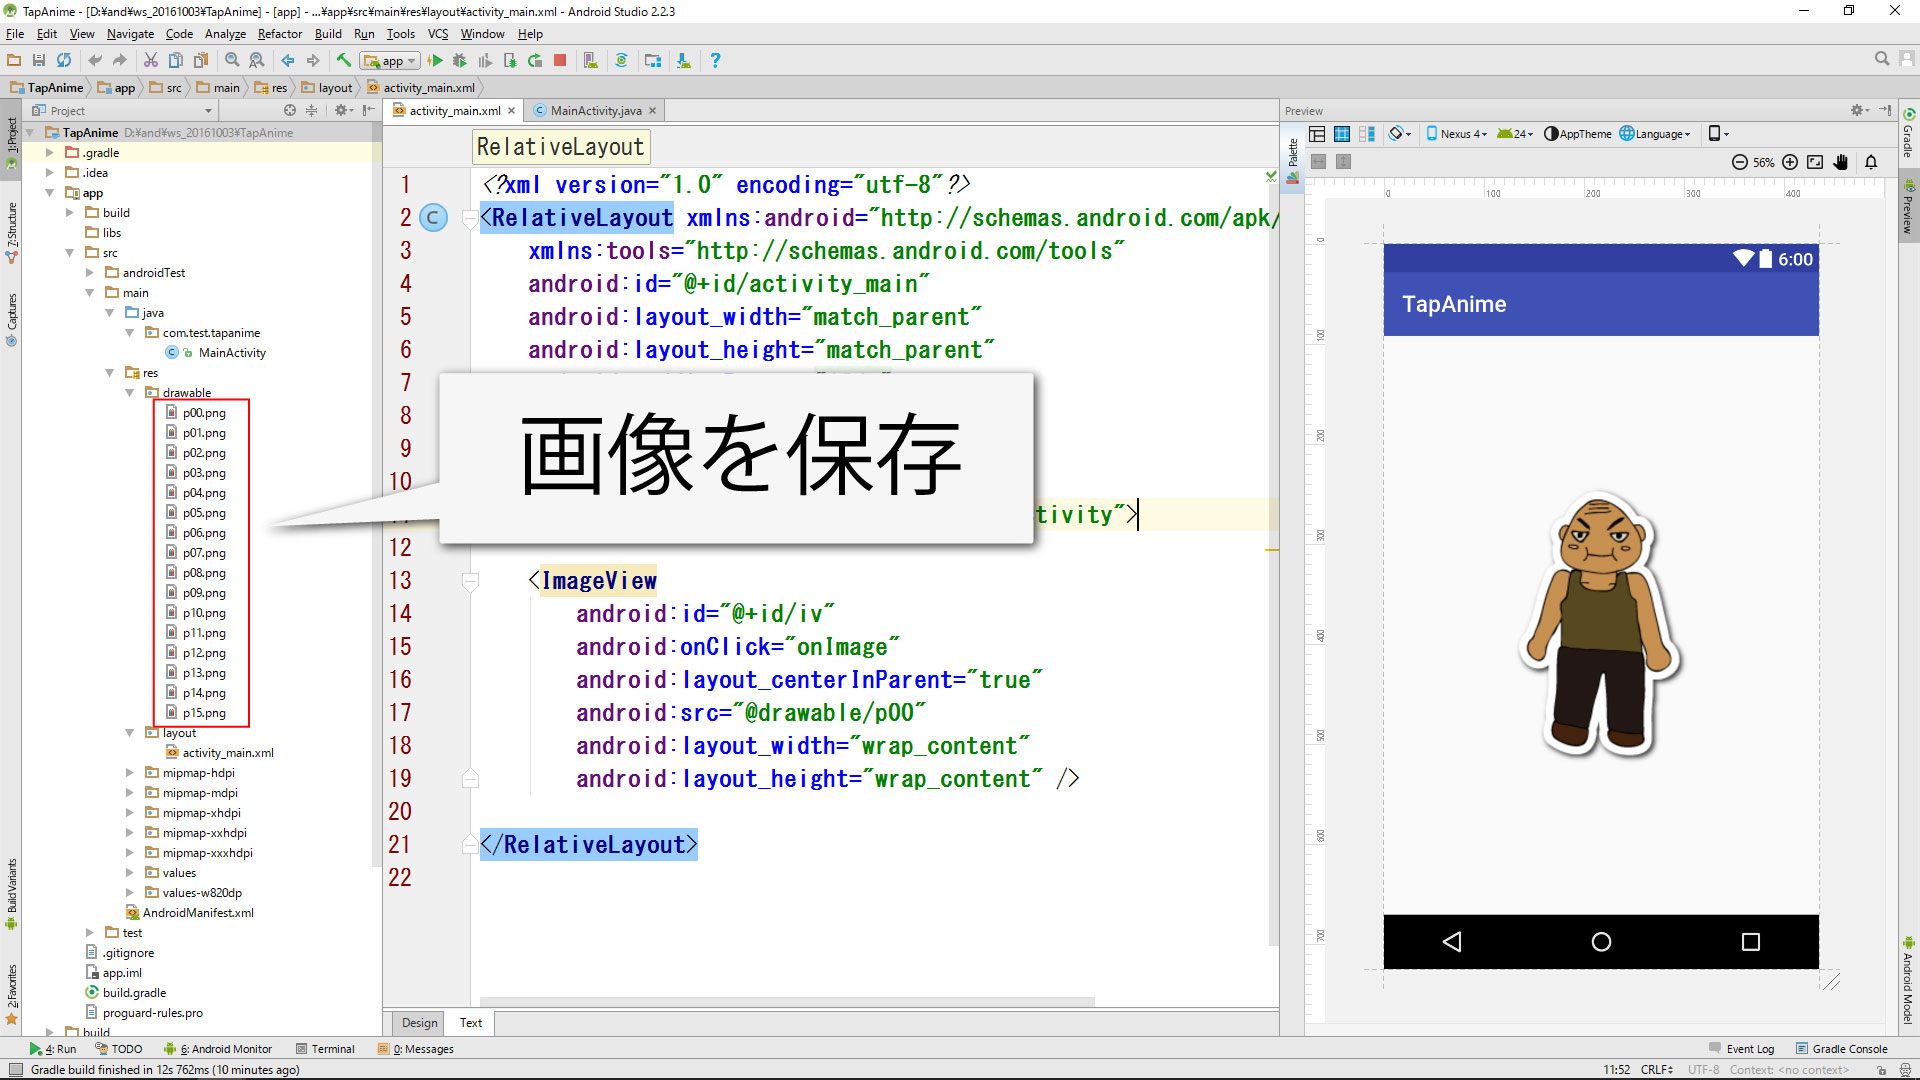
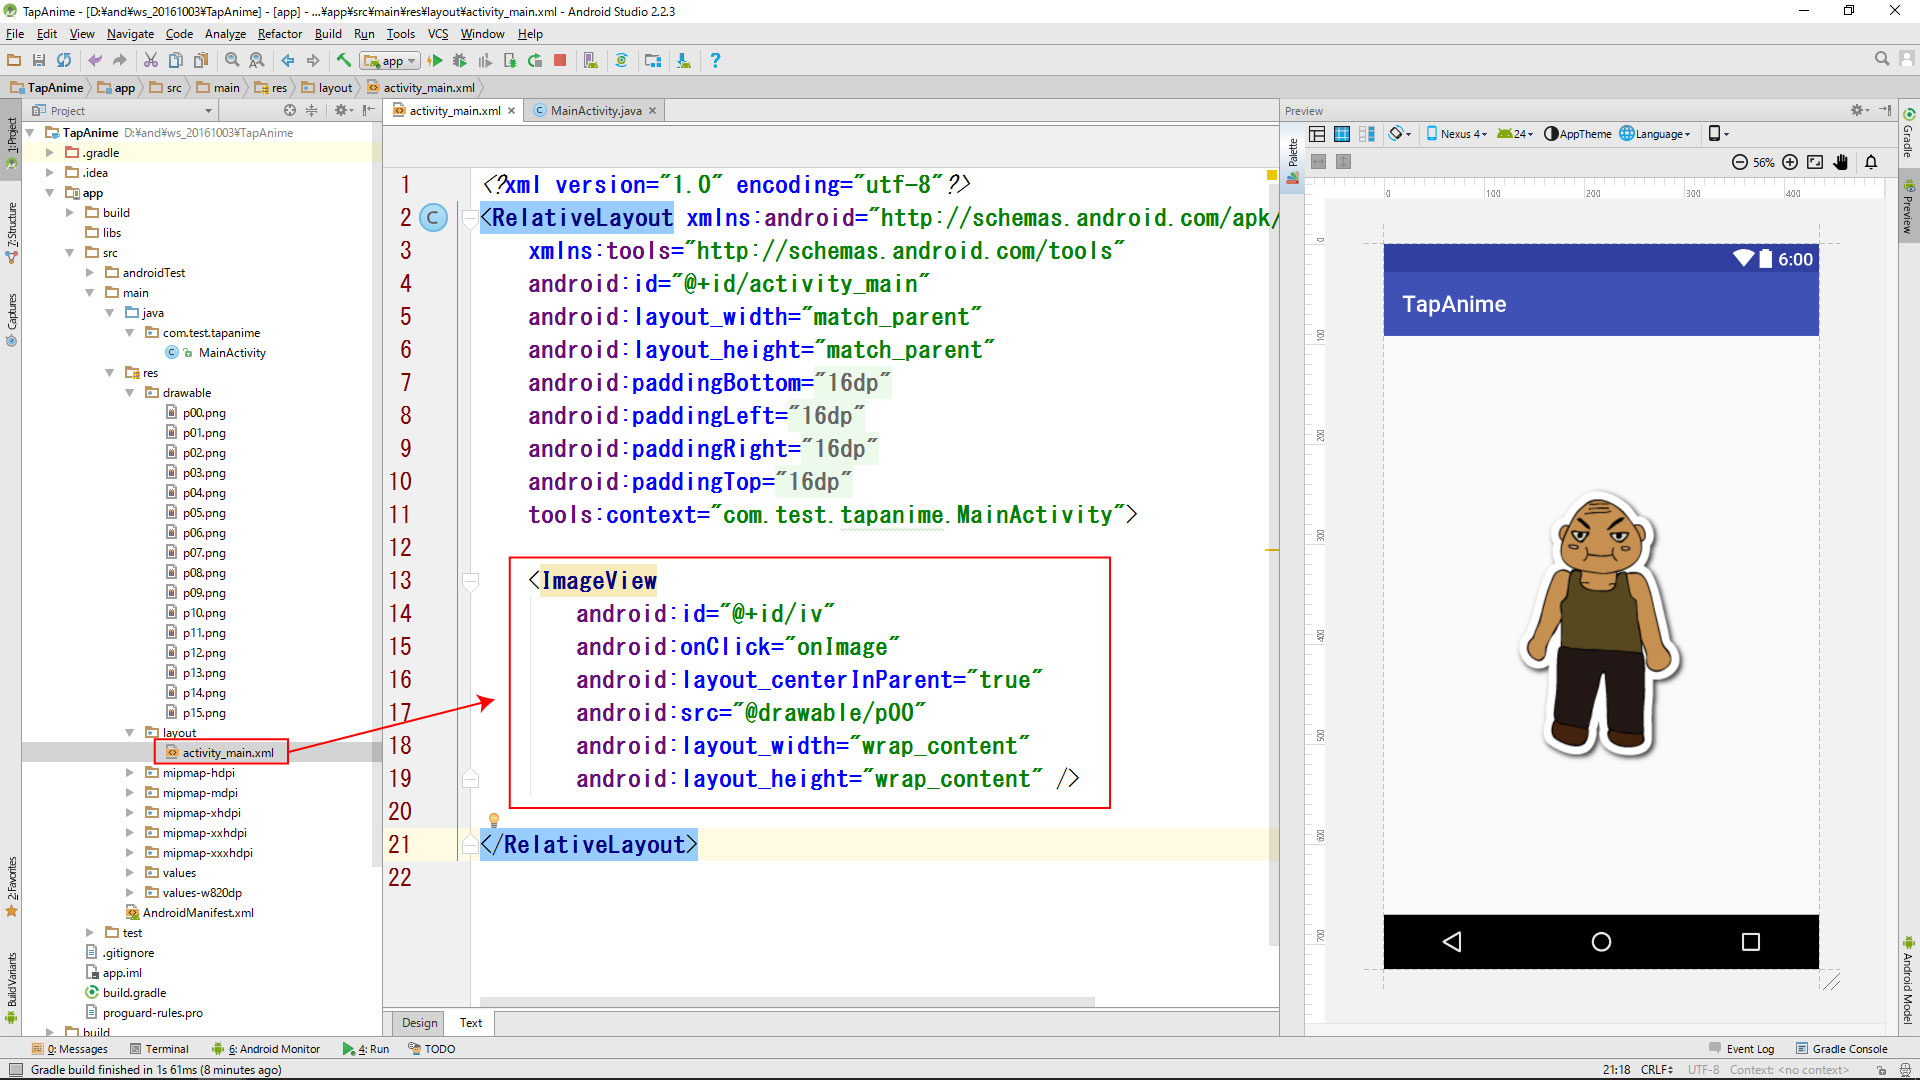
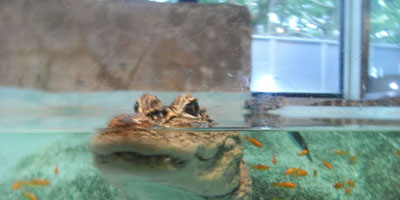
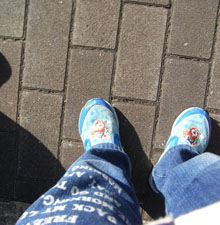
画像素材
* 注意 *
・画像をご自身で要するにはファイル名やファイルサイズ、拡張子に注意する必要があります。
・ファイル名は半角小文字の英数(a~z 0~9)とアンダーバー( _ )のみで、最初の1文字目は半角英字( a ~ z)のみです。
・慣れてない方はサンプル画像の使用をオススメします。

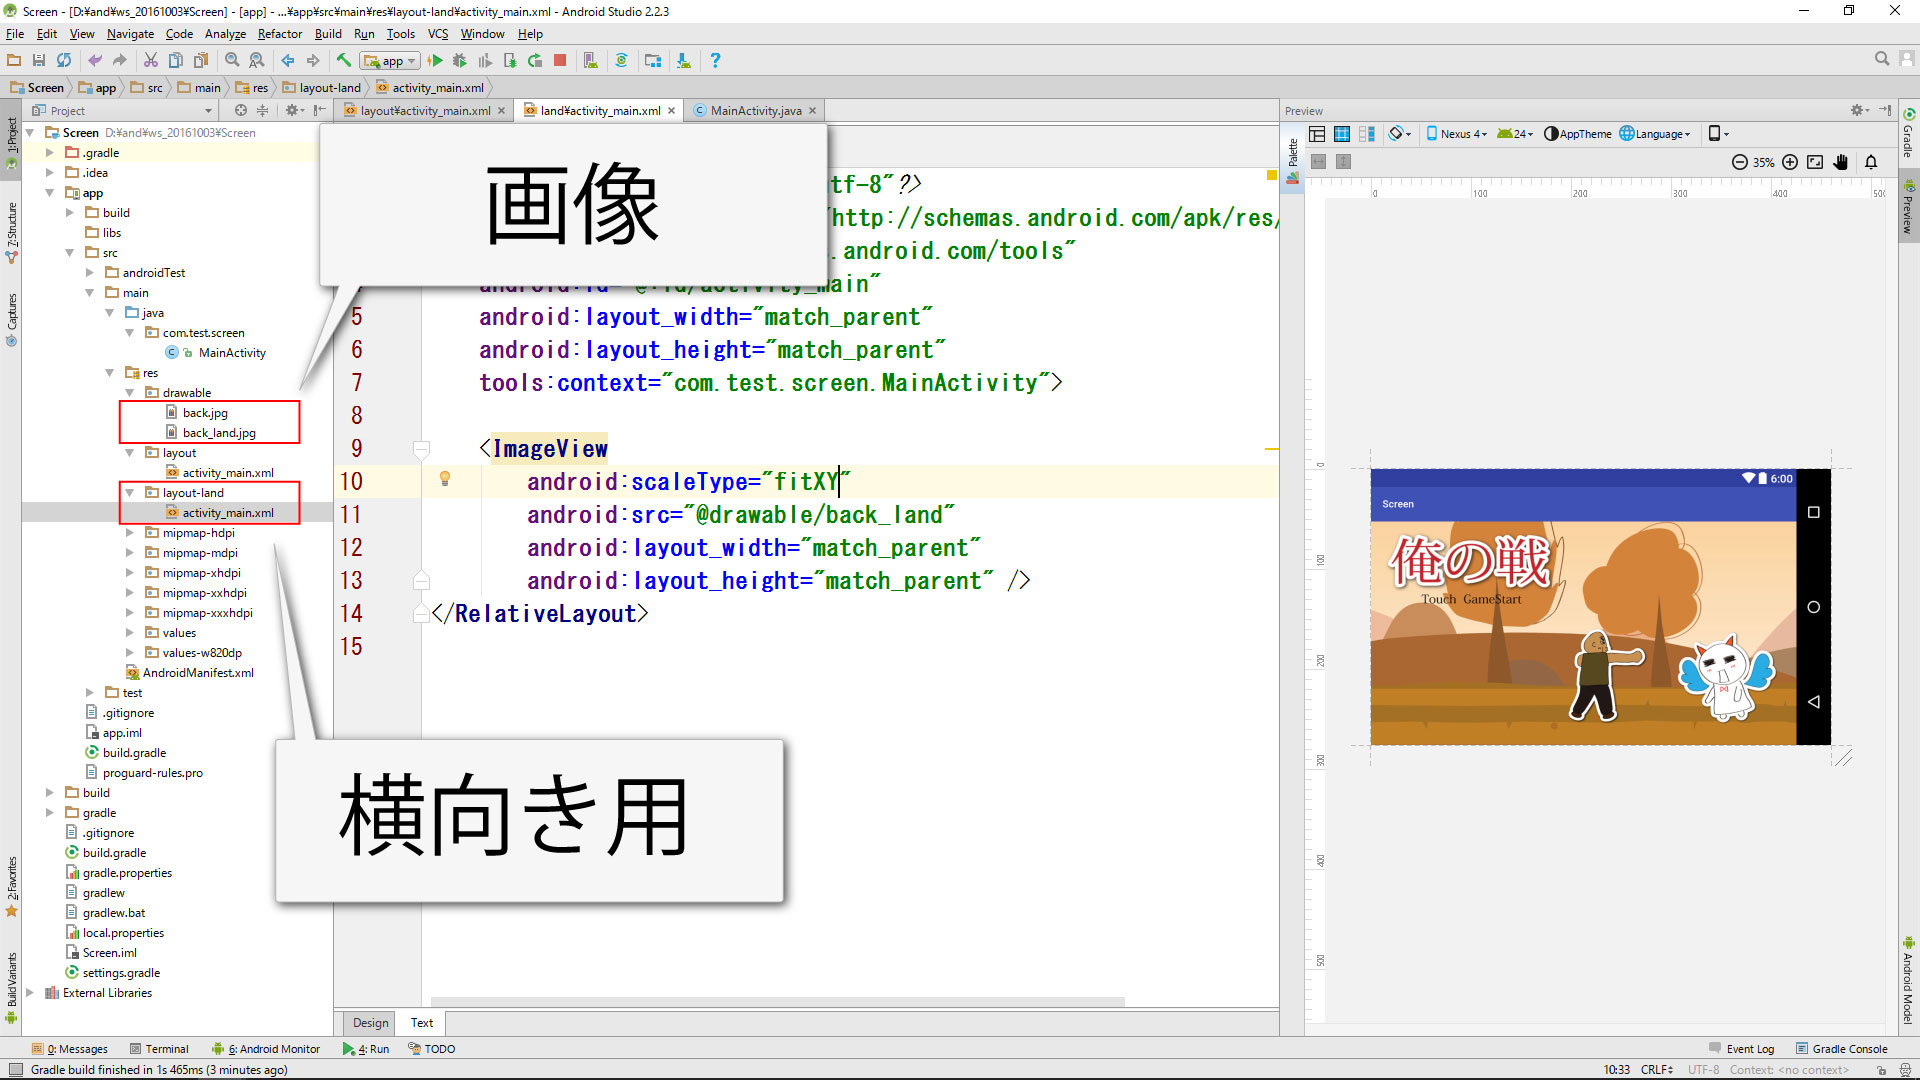
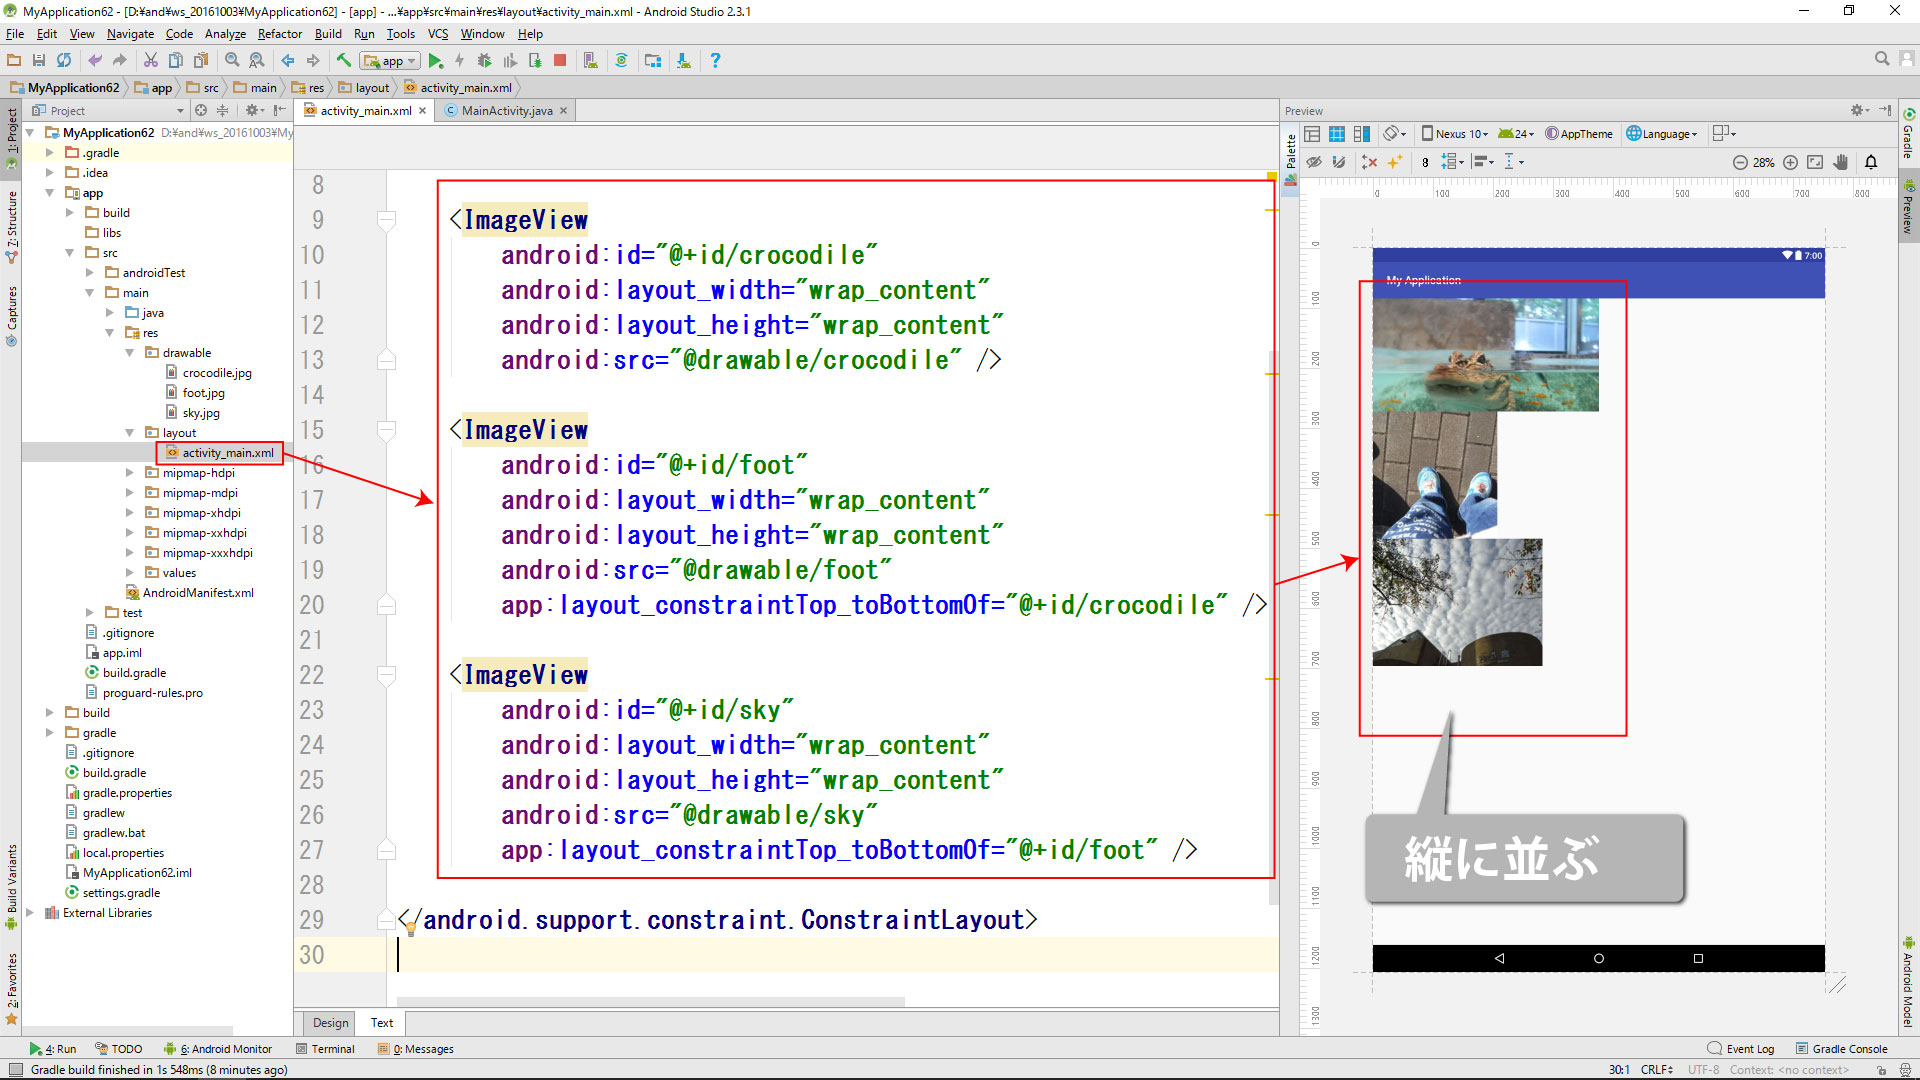
activity_main.xml (①縦に並べる)
<?xml version="1.0" encoding="utf-8"?>
<android.support.constraint.ConstraintLayout xmlns:android="http://schemas.android.com/apk/res/android"
    xmlns:app="http://schemas.android.com/apk/res-auto"
    xmlns:tools="http://schemas.android.com/tools"
    android:layout_width="match_parent"
    android:layout_height="match_parent"
    tools:context="com.test.myapplication.MainActivity">

    <ImageView
        android:id="@+id/crocodile"
        android:layout_width="wrap_content"
        android:layout_height="wrap_content"
        android:src="@drawable/crocodile" />

    <ImageView
        android:id="@+id/foot"
        android:layout_width="wrap_content"
        android:layout_height="wrap_content"
        android:src="@drawable/foot"
        app:layout_constraintTop_toBottomOf="@+id/crocodile" />

    <ImageView
        android:id="@+id/sky"
        android:layout_width="wrap_content"
        android:layout_height="wrap_content"
        android:src="@drawable/sky"
        app:layout_constraintTop_toBottomOf="@+id/foot" />

</android.support.constraint.ConstraintLayout>
activity_main.xml (②余白を消す)

<?xml version="1.0" encoding="utf-8"?>
<android.support.constraint.ConstraintLayout xmlns:android="http://schemas.android.com/apk/res/android"
    xmlns:app="http://schemas.android.com/apk/res-auto"
    xmlns:tools="http://schemas.android.com/tools"
    android:layout_width="match_parent"
    android:layout_height="match_parent"
    tools:context="com.test.myapplication.MainActivity">

    <ImageView
        android:id="@+id/crocodile"
        android:layout_width="wrap_content"
        android:layout_height="wrap_content"
        android:src="@drawable/crocodile" />

    <ImageView
        android:id="@+id/foot"
        android:layout_width="wrap_content"
        android:layout_height="wrap_content"
        android:src="@drawable/foot"
        app:layout_constraintTop_toBottomOf="@+id/crocodile" />

    <ImageView
        android:id="@+id/sky"
        android:layout_width="wrap_content"
        android:layout_height="0dp"
        android:scaleType="centerCrop"
        android:src="@drawable/sky"
        app:layout_constraintBottom_toBottomOf="parent"
        app:layout_constraintTop_toBottomOf="@+id/foot" />

</android.support.constraint.ConstraintLayout>
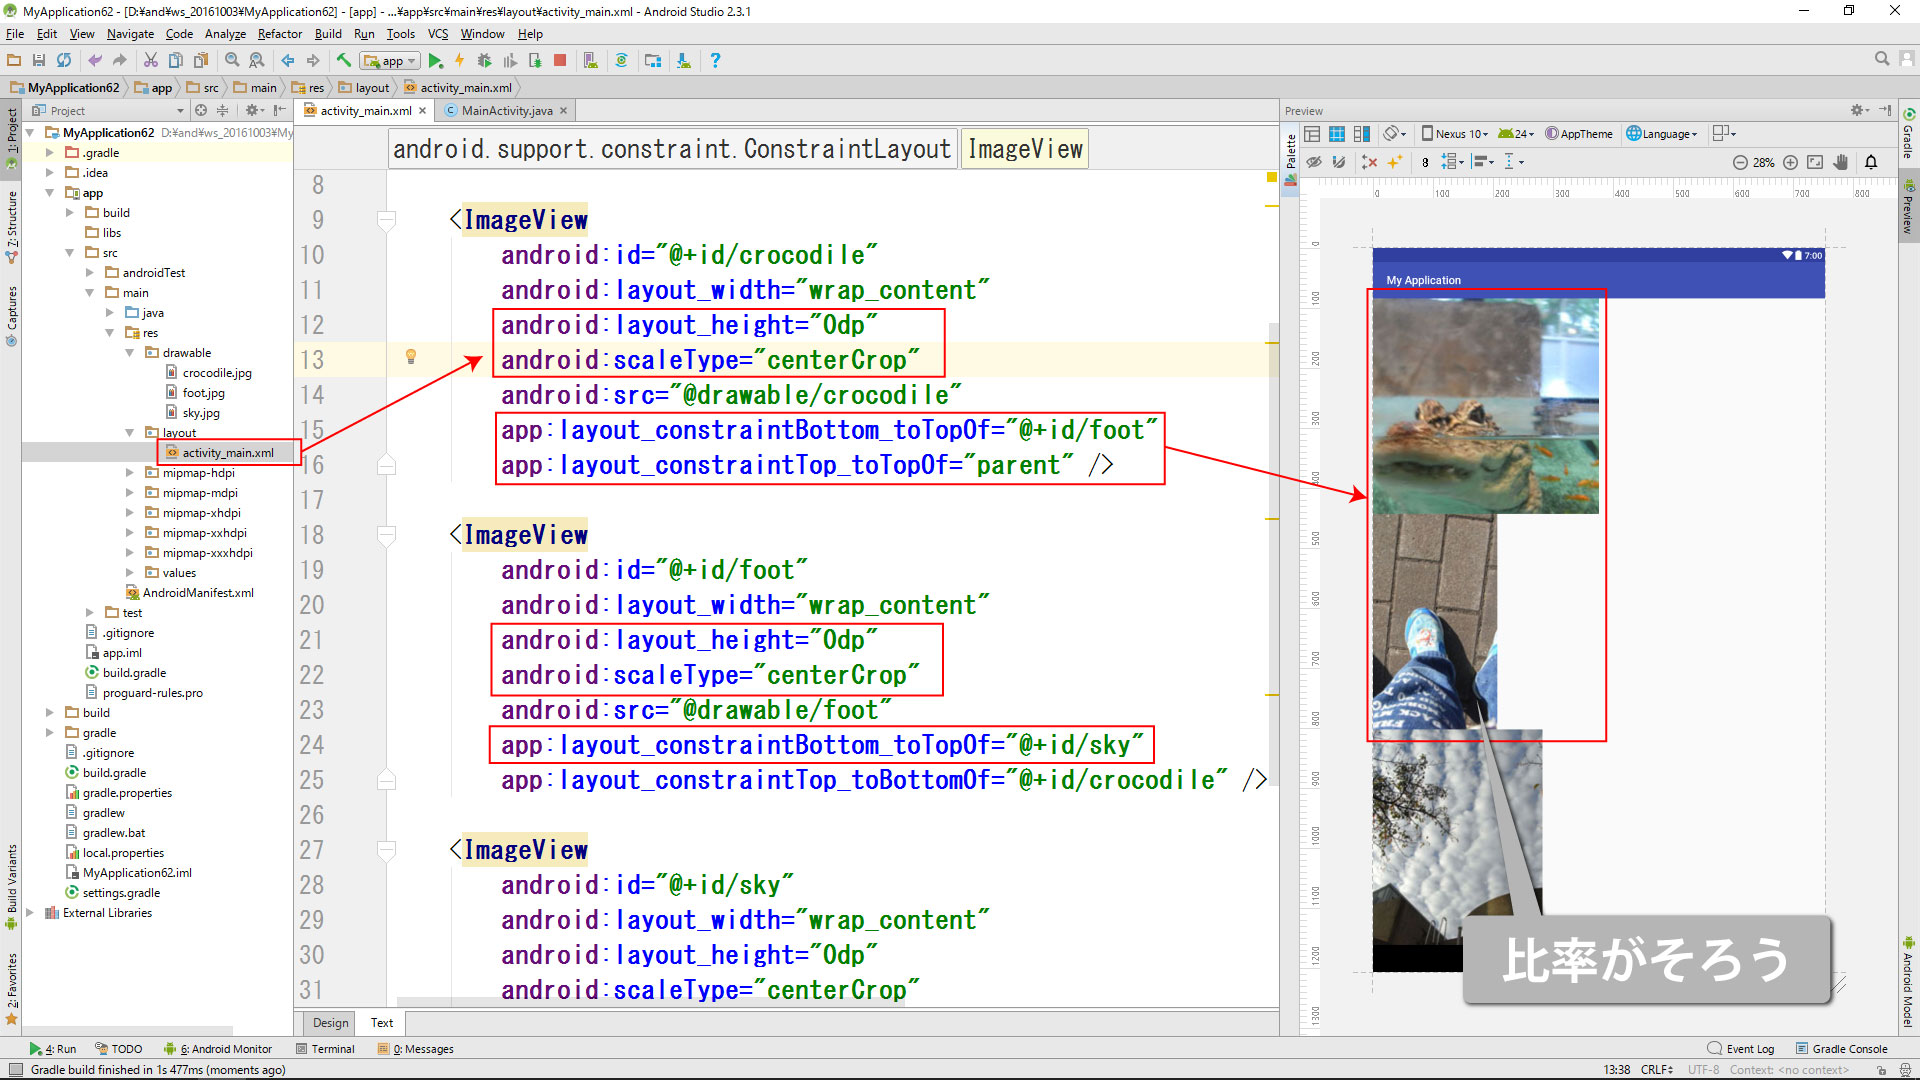
activity_main.xml (③比率をそろえる)
<?xml version="1.0" encoding="utf-8"?>
<android.support.constraint.ConstraintLayout xmlns:android="http://schemas.android.com/apk/res/android"
    xmlns:app="http://schemas.android.com/apk/res-auto"
    xmlns:tools="http://schemas.android.com/tools"
    android:layout_width="match_parent"
    android:layout_height="match_parent"
    tools:context="com.test.myapplication.MainActivity">

    <ImageView
        android:id="@+id/crocodile"
        android:layout_width="wrap_content"
        android:layout_height="0dp"
        android:scaleType="centerCrop"
        android:src="@drawable/crocodile"
        app:layout_constraintBottom_toTopOf="@+id/foot"
        app:layout_constraintTop_toTopOf="parent" />

    <ImageView
        android:id="@+id/foot"
        android:layout_width="wrap_content"
        android:layout_height="0dp"
        android:scaleType="centerCrop"
        android:src="@drawable/foot"
        app:layout_constraintBottom_toTopOf="@+id/sky"
        app:layout_constraintTop_toBottomOf="@+id/crocodile" />

    <ImageView
        android:id="@+id/sky"
        android:layout_width="wrap_content"
        android:layout_height="0dp"
        android:scaleType="centerCrop"
        android:src="@drawable/sky"
        app:layout_constraintBottom_toBottomOf="parent"
        app:layout_constraintTop_toBottomOf="@+id/foot" />

</android.support.constraint.ConstraintLayout>
activity_main.xml (完成 ④余白を無くす)
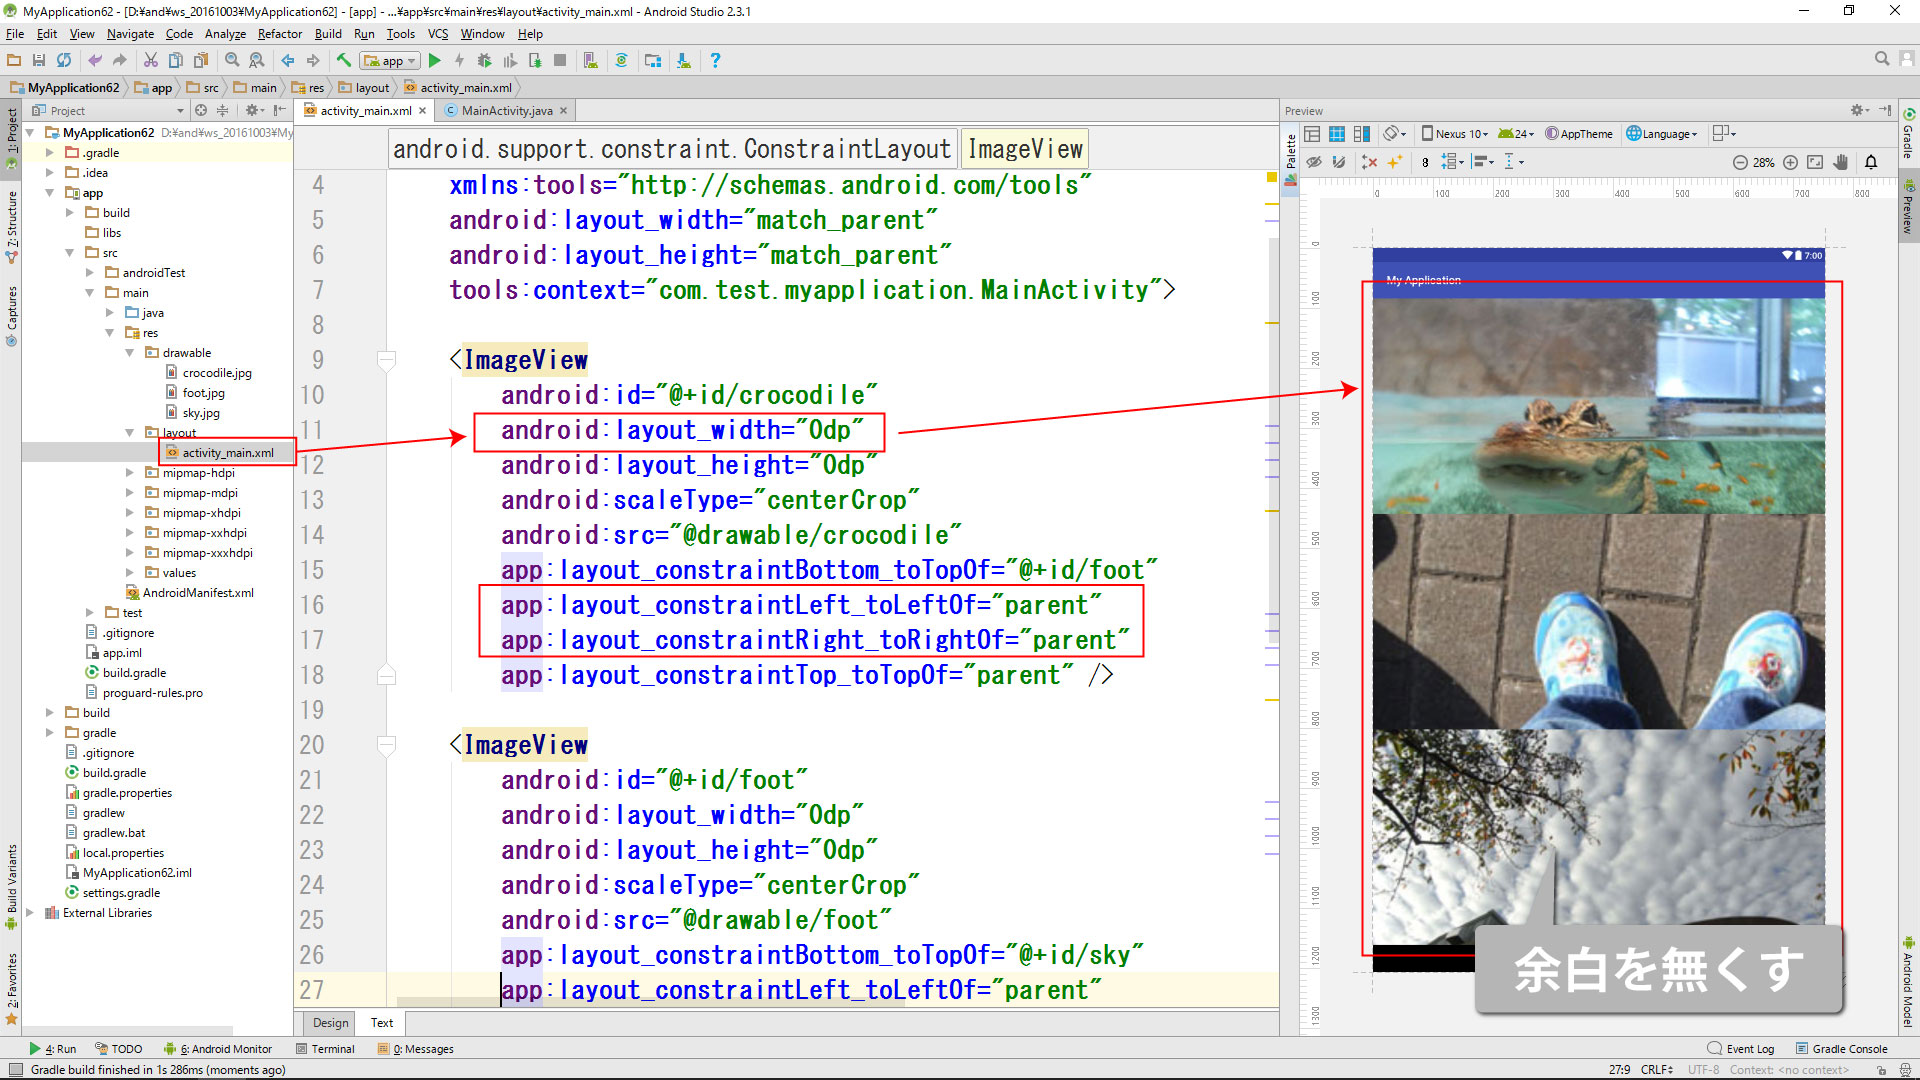
<?xml version="1.0" encoding="utf-8"?>
<android.support.constraint.ConstraintLayout xmlns:android="http://schemas.android.com/apk/res/android"
    xmlns:app="http://schemas.android.com/apk/res-auto"
    xmlns:tools="http://schemas.android.com/tools"
    android:layout_width="match_parent"
    android:layout_height="match_parent"
    tools:context="com.test.myapplication.MainActivity">

    <ImageView
        android:id="@+id/crocodile"
        android:layout_width="0dp"
        android:layout_height="0dp"
        android:scaleType="centerCrop"
        android:src="@drawable/crocodile"
        app:layout_constraintBottom_toTopOf="@+id/foot"
        app:layout_constraintLeft_toLeftOf="parent"
        app:layout_constraintRight_toRightOf="parent"
        app:layout_constraintTop_toTopOf="parent" />

    <ImageView
        android:id="@+id/foot"
        android:layout_width="0dp"
        android:layout_height="0dp"
        android:scaleType="centerCrop"
        android:src="@drawable/foot"
        app:layout_constraintBottom_toTopOf="@+id/sky"
        app:layout_constraintLeft_toLeftOf="parent"
        app:layout_constraintRight_toRightOf="parent"
        app:layout_constraintTop_toBottomOf="@+id/crocodile" />

    <ImageView
        android:id="@+id/sky"
        android:layout_width="0dp"
        android:layout_height="0dp"
        android:scaleType="centerCrop"
        android:src="@drawable/sky"
        app:layout_constraintBottom_toBottomOf="parent"
        app:layout_constraintLeft_toLeftOf="parent"
        app:layout_constraintRight_toRightOf="parent"
        app:layout_constraintTop_toBottomOf="@+id/foot" />

</android.support.constraint.ConstraintLayout>