動画の内容
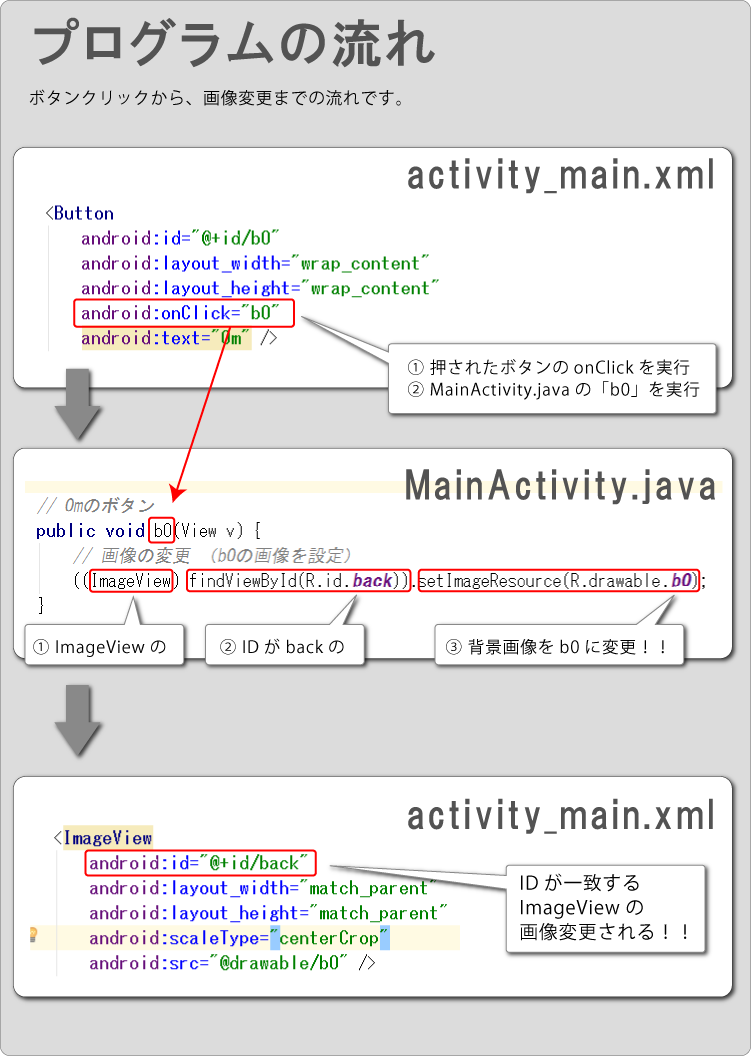
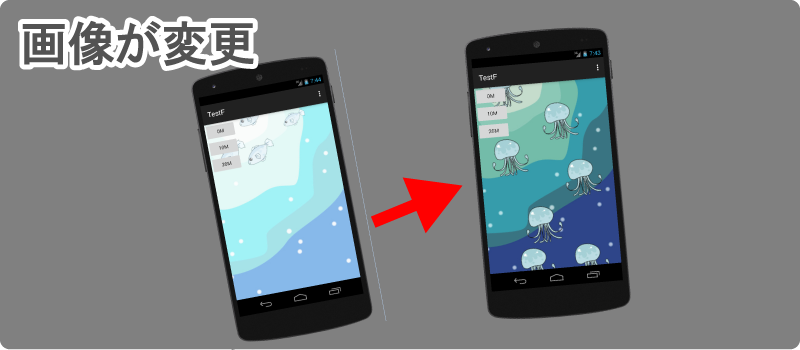
画面上にボタンを配置して「ボタンを押すと背景画像が変わる」を学習します。
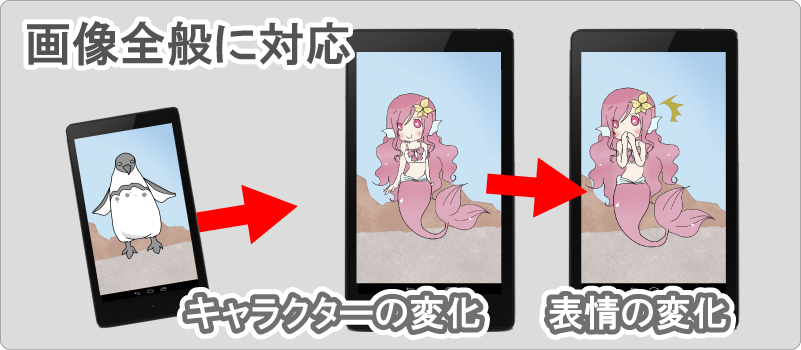
もちろん、背景画像だけで無く、キャラクター自信や表情も変更できます。
作成の流れ
今回は「新規作成から完成」までを動画に納めたいので、細かい解説は省かせてもらいます。(m_m)
詳細は以下リンク先をご覧ください。
- アプリの新規作成
- 画像の準備
- 画面レイアウト(背景画像)
- 画面レイアウト(ボタンの配置)
- クリック処理 ( 本題 )
- 背景画像の変更 ( 本題 )
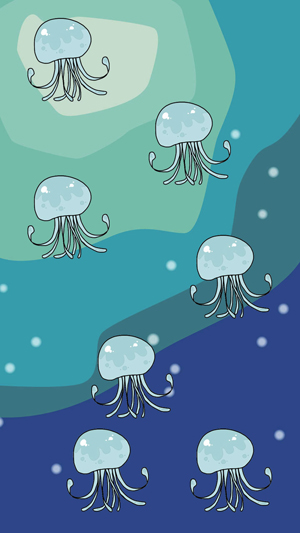
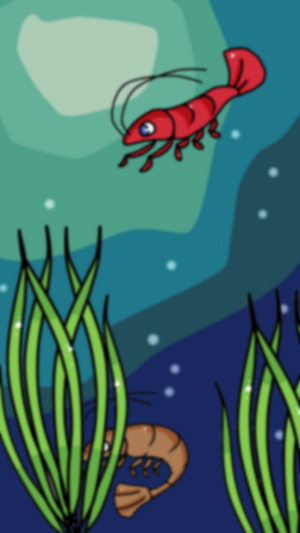
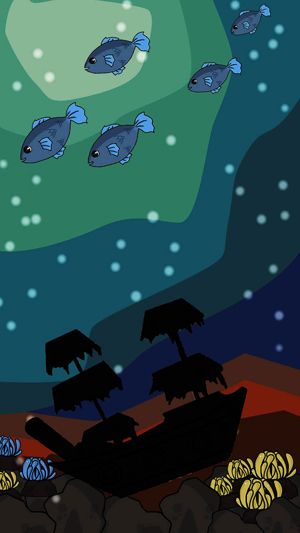
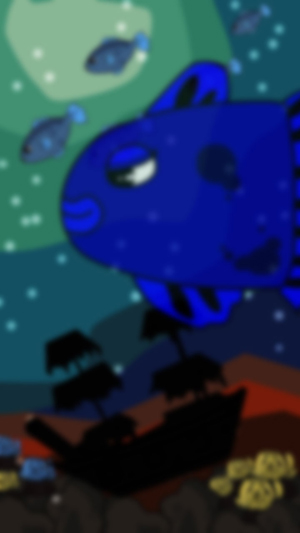
使用素材
以下、背景画像をパソコン内に保存し、アプリ内のdrawableフォルダーに保存してください。


activity_main.xml
画面作りは簡略化します。コピペでOKです。
<RelativeLayout xmlns:android="http://schemas.android.com/apk/res/android"
    xmlns:tools="http://schemas.android.com/tools"
    android:layout_width="match_parent"
    android:layout_height="match_parent"
    android:orientation="vertical"
    tools:context=".MainActivity">

    <ImageView
        android:id="@+id/back"
        android:layout_width="match_parent"
        android:layout_height="match_parent"
        android:scaleType="centerCrop"
        android:src="@drawable/b0" />

    <Button
        android:id="@+id/b0"
        android:layout_width="wrap_content"
        android:layout_height="wrap_content"
        android:onClick="b0"
        android:text="0m" />

    <Button
        android:id="@+id/b1"
        android:layout_width="wrap_content"
        android:layout_height="wrap_content"
        android:layout_below="@+id/b0"
        android:onClick="b1"
        android:text="10m" />

    <Button
        android:id="@+id/b2"
        android:layout_width="wrap_content"
        android:layout_height="wrap_content"
        android:layout_below="@+id/b1"
        android:onClick="b2"
        android:text="20m" />

</RelativeLayout>
MainActivity.java
プログラミング(動的な変化)です。赤文字を適切な場所にコピペすると動くはずです。
package com.test.testf;

import android.support.v7.app.AppCompatActivity;
import android.os.Bundle;
import android.view.Menu;
import android.view.MenuItem;
import android.view.View;
import android.widget.ImageView;

public class MainActivity extends AppCompatActivity {

    // 0mのボタン
    public void b0(View v) {
        // 画像の変更 (b0画像を設定)
        ((ImageView) findViewById(R.id.back)).setImageResource(R.drawable.b0);
    }

    // 10mのボタン
    public void b1(View v) {
        // 画像の変更 (b1画像を設定)
        ((ImageView) findViewById(R.id.back)).setImageResource(R.drawable.b1);
    }

    // 20mのボタン
    public void b2(View v) {
        // 画像の変更 (b2画像を設定)
        ((ImageView) findViewById(R.id.back)).setImageResource(R.drawable.b2);
    }

    @Override
    protected void onCreate(Bundle savedInstanceState) {
        super.onCreate(savedInstanceState);
        setContentView(R.layout.activity_main);
    }

    @Override
    public boolean onCreateOptionsMenu(Menu menu) {
        // Inflate the menu; this adds items to the action bar if it is present.
        getMenuInflater().inflate(R.menu.menu_main, menu);
        return true;
    }

    @Override
    public boolean onOptionsItemSelected(MenuItem item) {
        // Handle action bar item clicks here. The action bar will
        // automatically handle clicks on the Home/Up button, so long
        // as you specify a parent activity in AndroidManifest.xml.
        int id = item.getItemId();

        //noinspection SimplifiableIfStatement
        if (id == R.id.action_settings) {
            return true;
        }

        return super.onOptionsItemSelected(item);
    }
}
ポイント