strings.xml( 文字列管理用のファイル )を学習します。
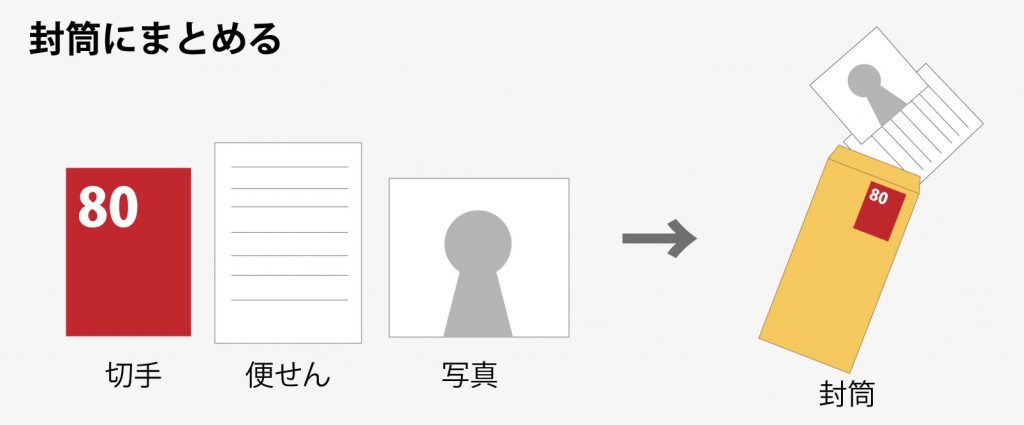
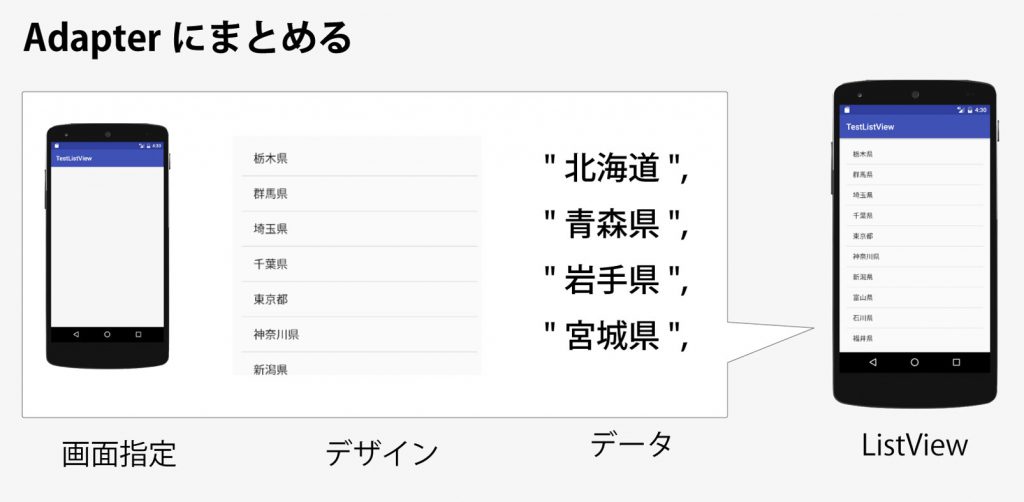
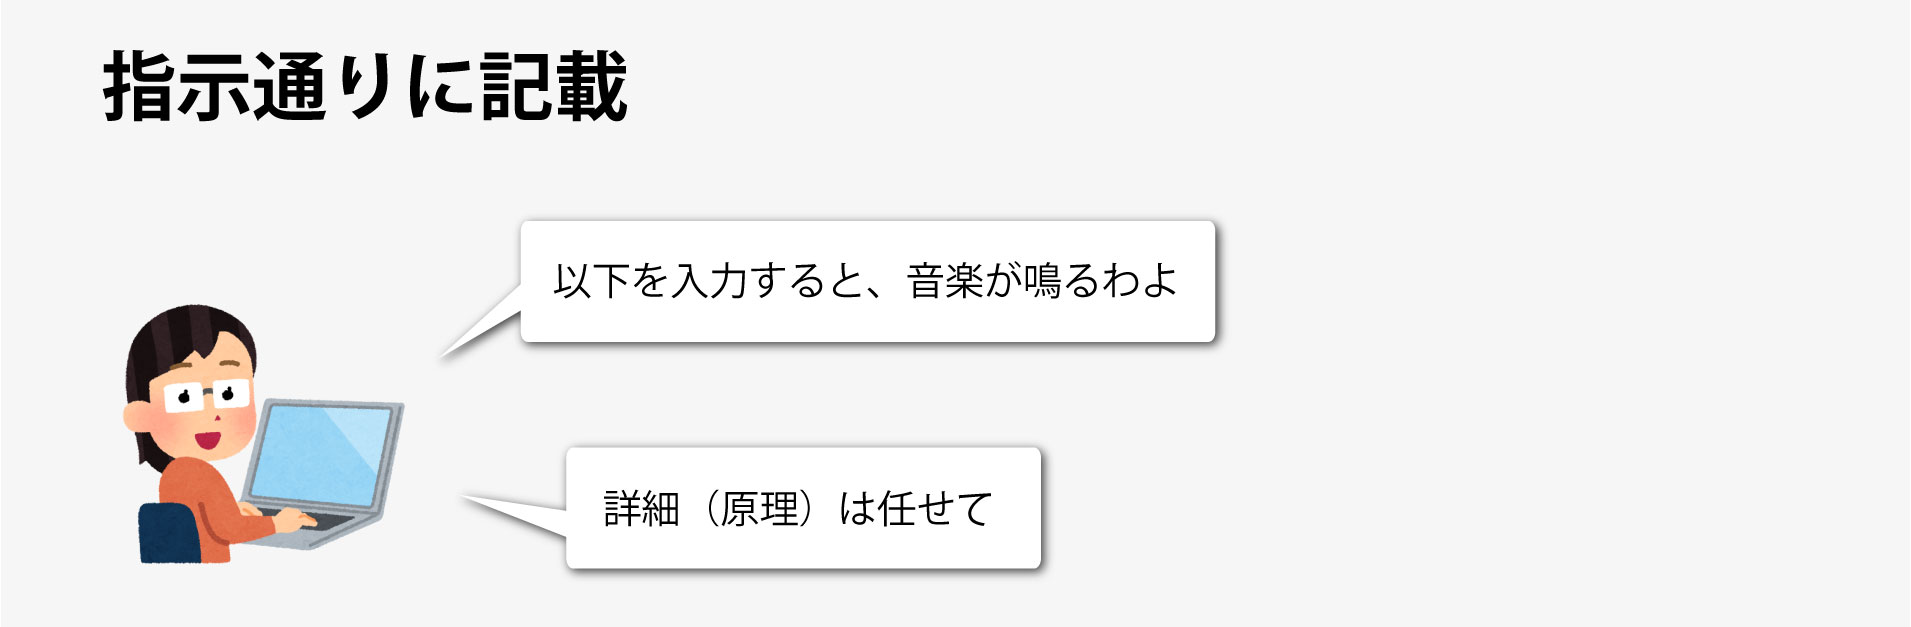
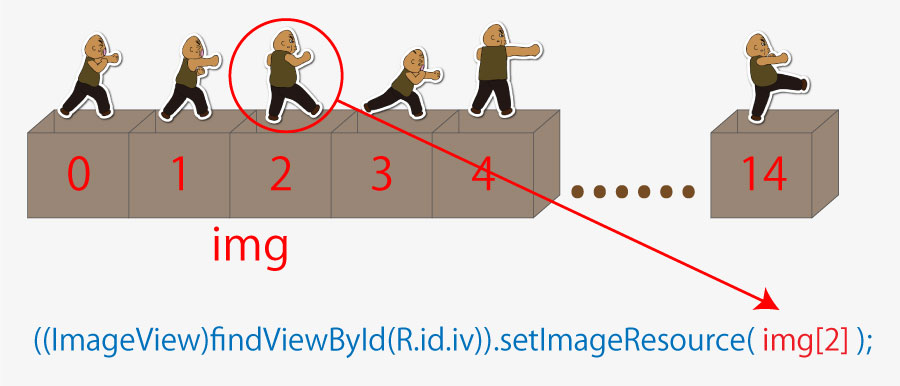
strings.xmlを使用すると文字を管理しやすくなり、複雑なアプリも作りやすくなります。
一見無価値のようですが、慣れると手放せなくなるので是非トライしてください。
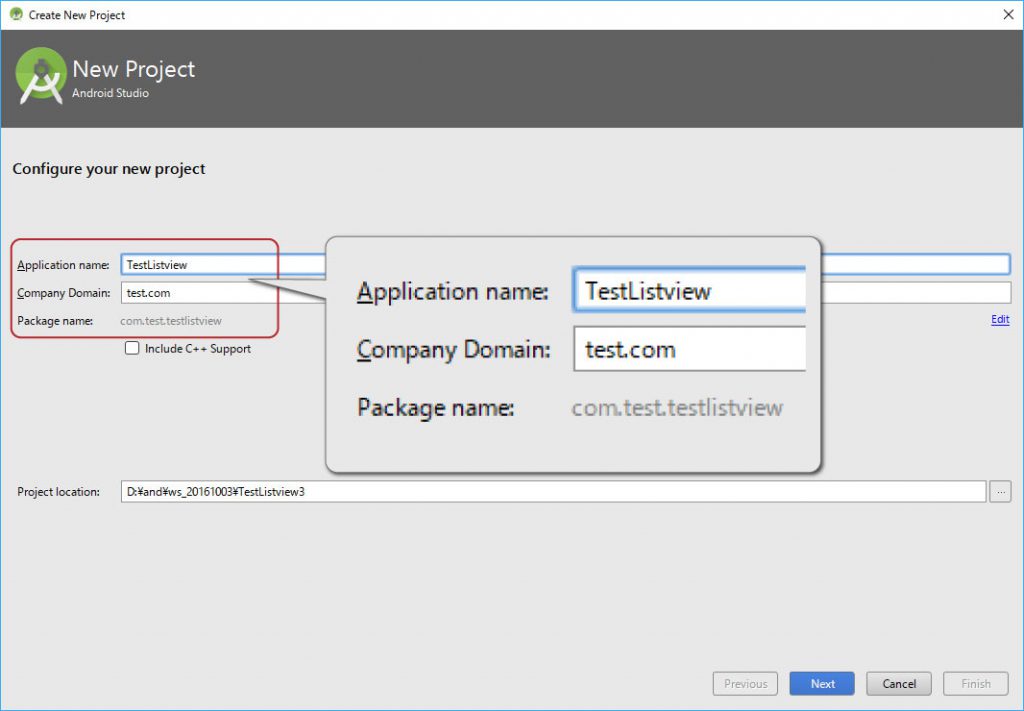
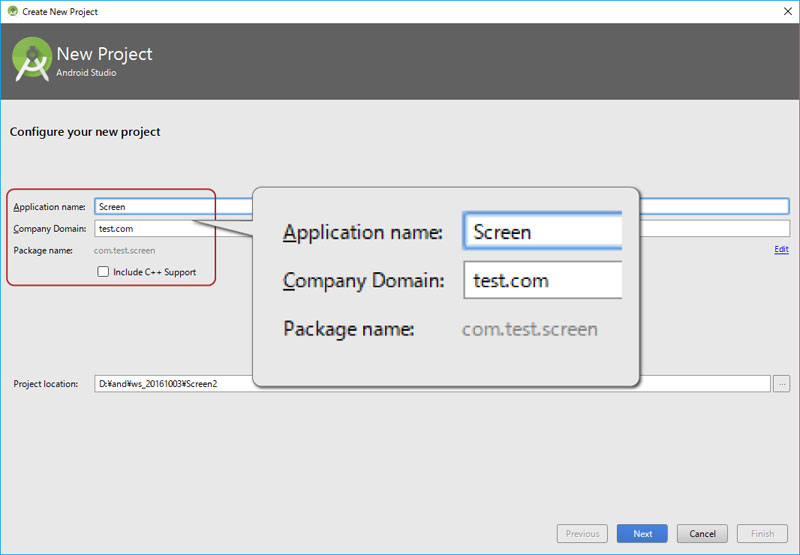
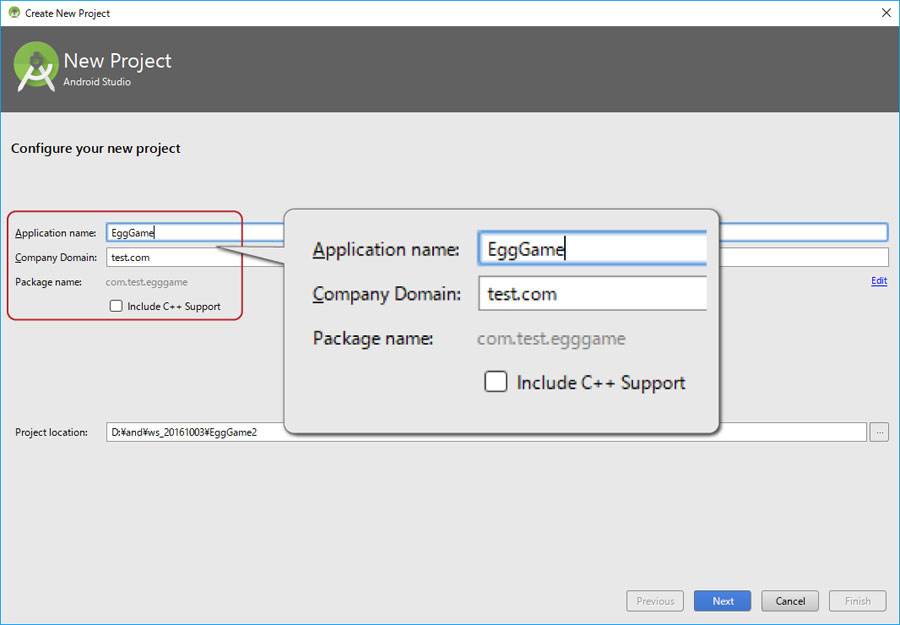
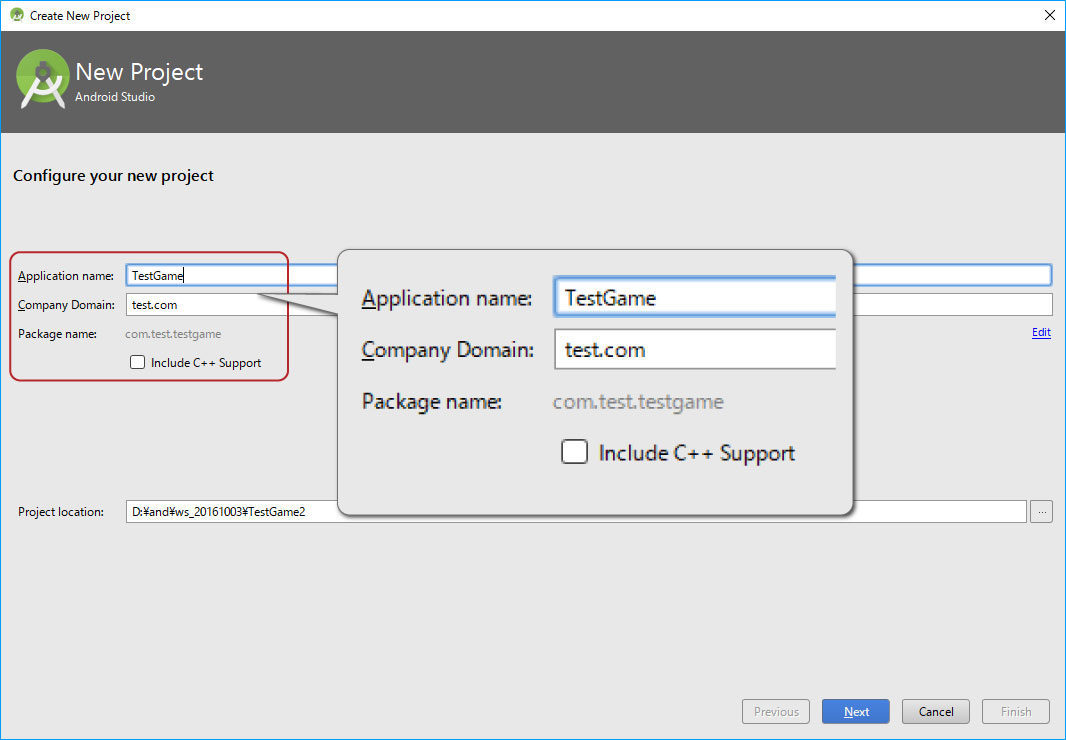
プロジェクト名
プロジェクト、カンパニードメイン、パッケージネームを同じにするとコピペエラーが減ります。
Application name ListApp
Company Domain test.com
Package name com.test.listapp

strings.xml(完成)

<resources>
    <string name="app_name">ListApp</string>

    <string-array name="name">
        <item>rat</item>
        <item>ox</item>
        <item>tiger</item>
        <item>hare</item>
        <item>dragon</item>
        <item>serpent</item>
        <item>horse</item>
        <item>sheep</item>
        <item>monkey</item>
        <item>rooster</item>
        <item>dog</item>
        <item>boar</item>
    </string-array>
</resources>
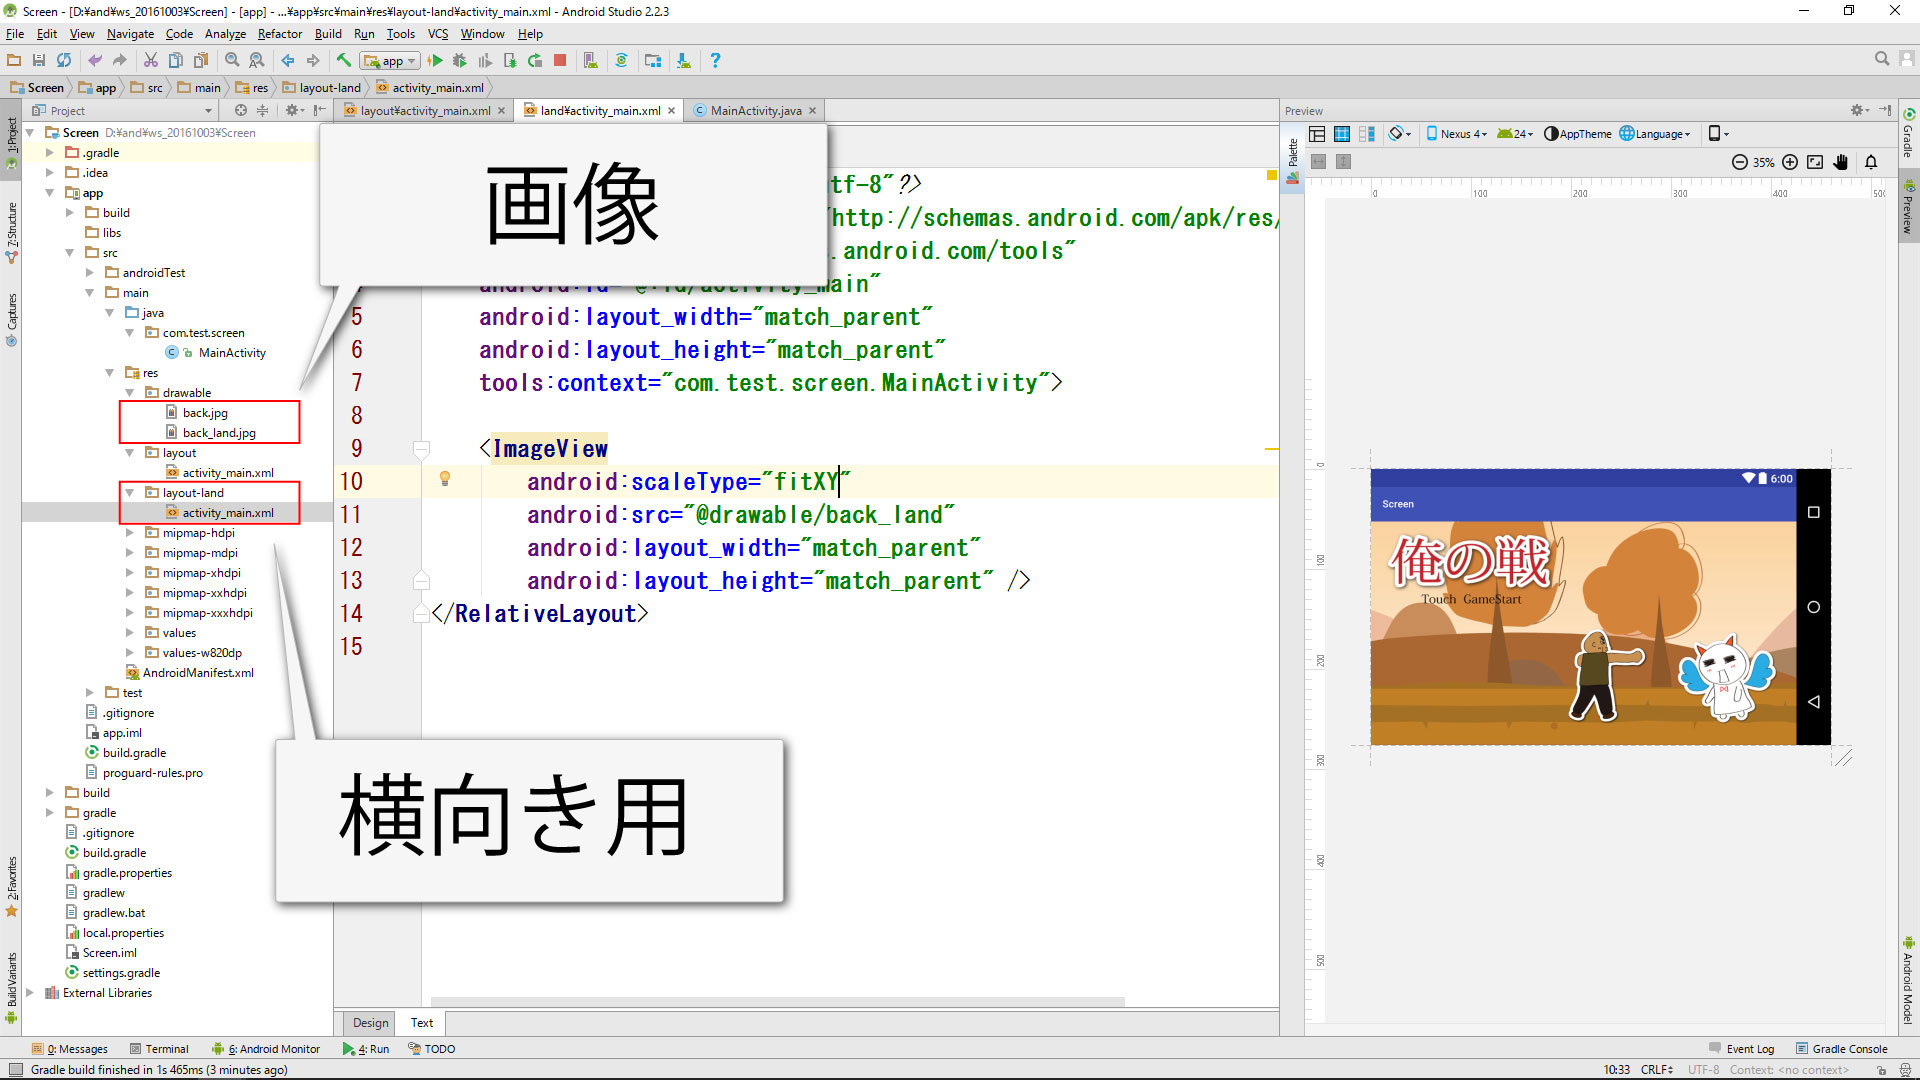
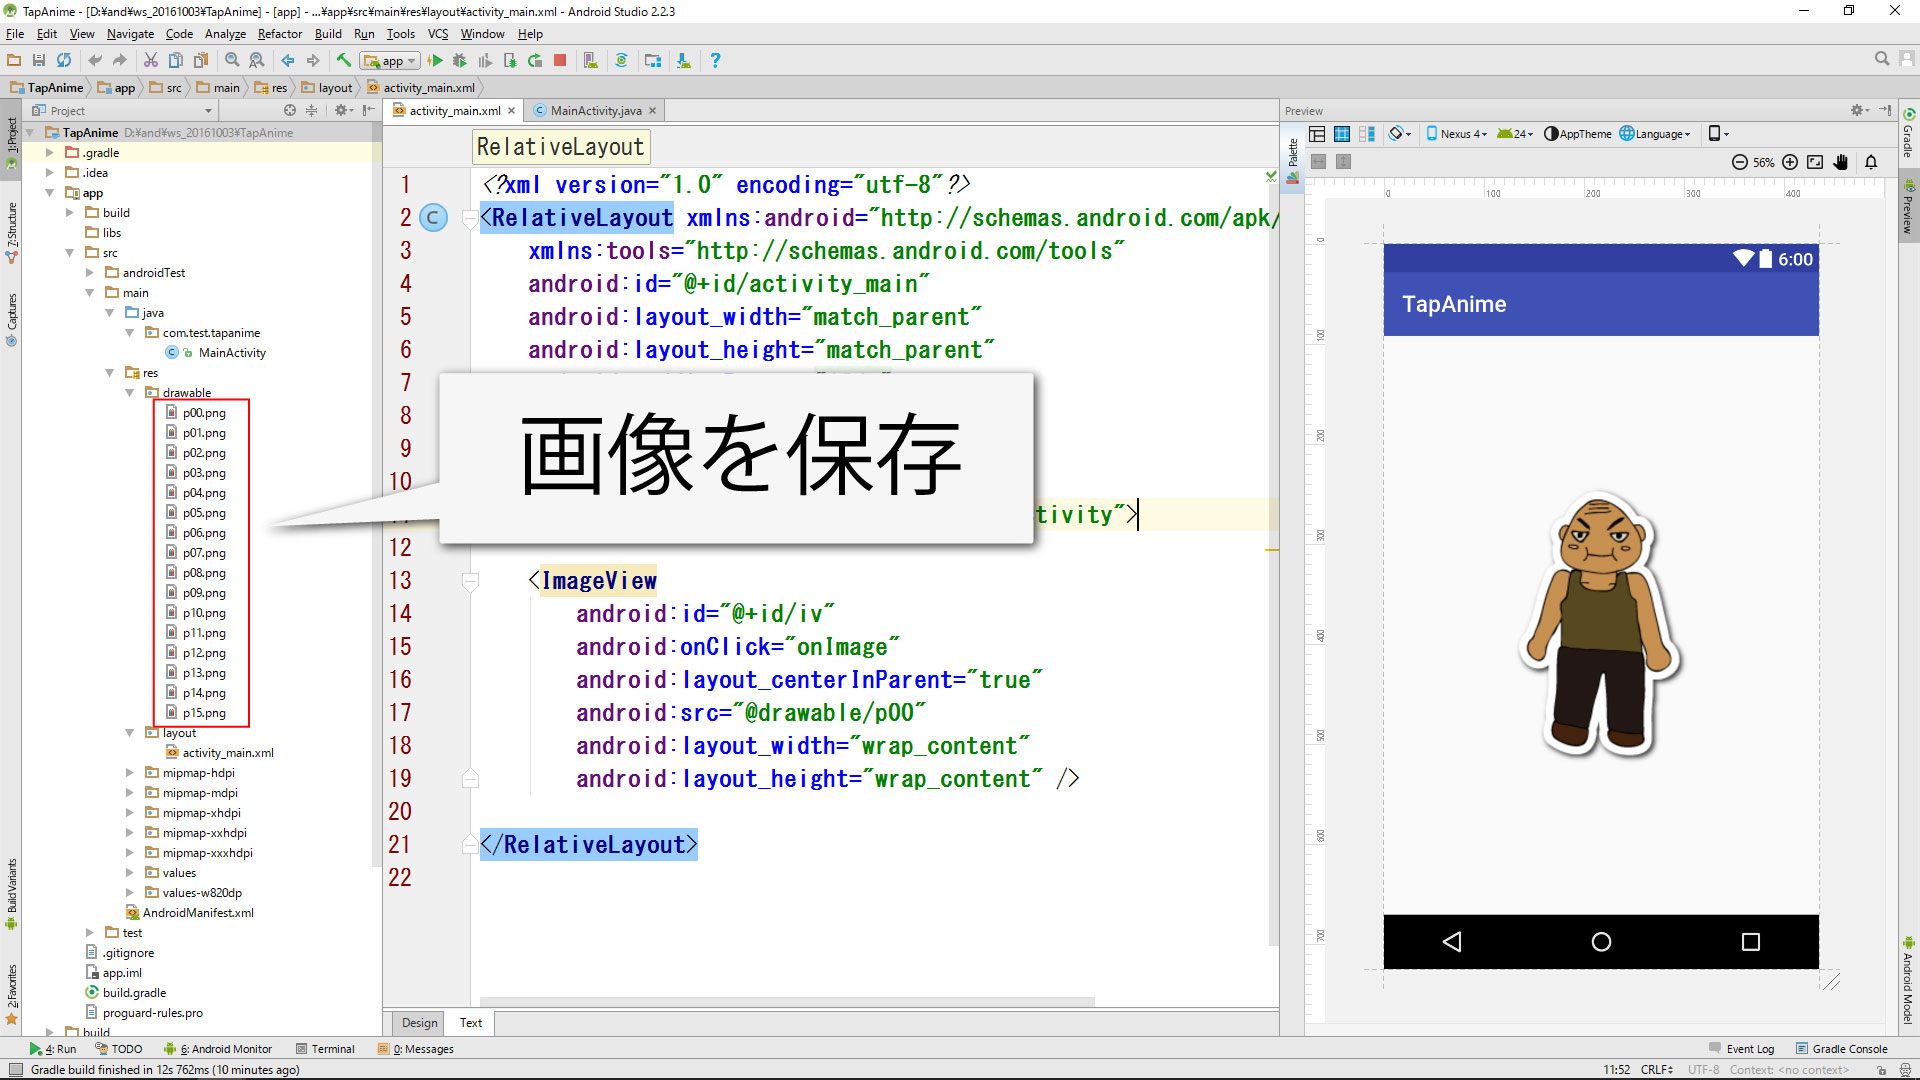
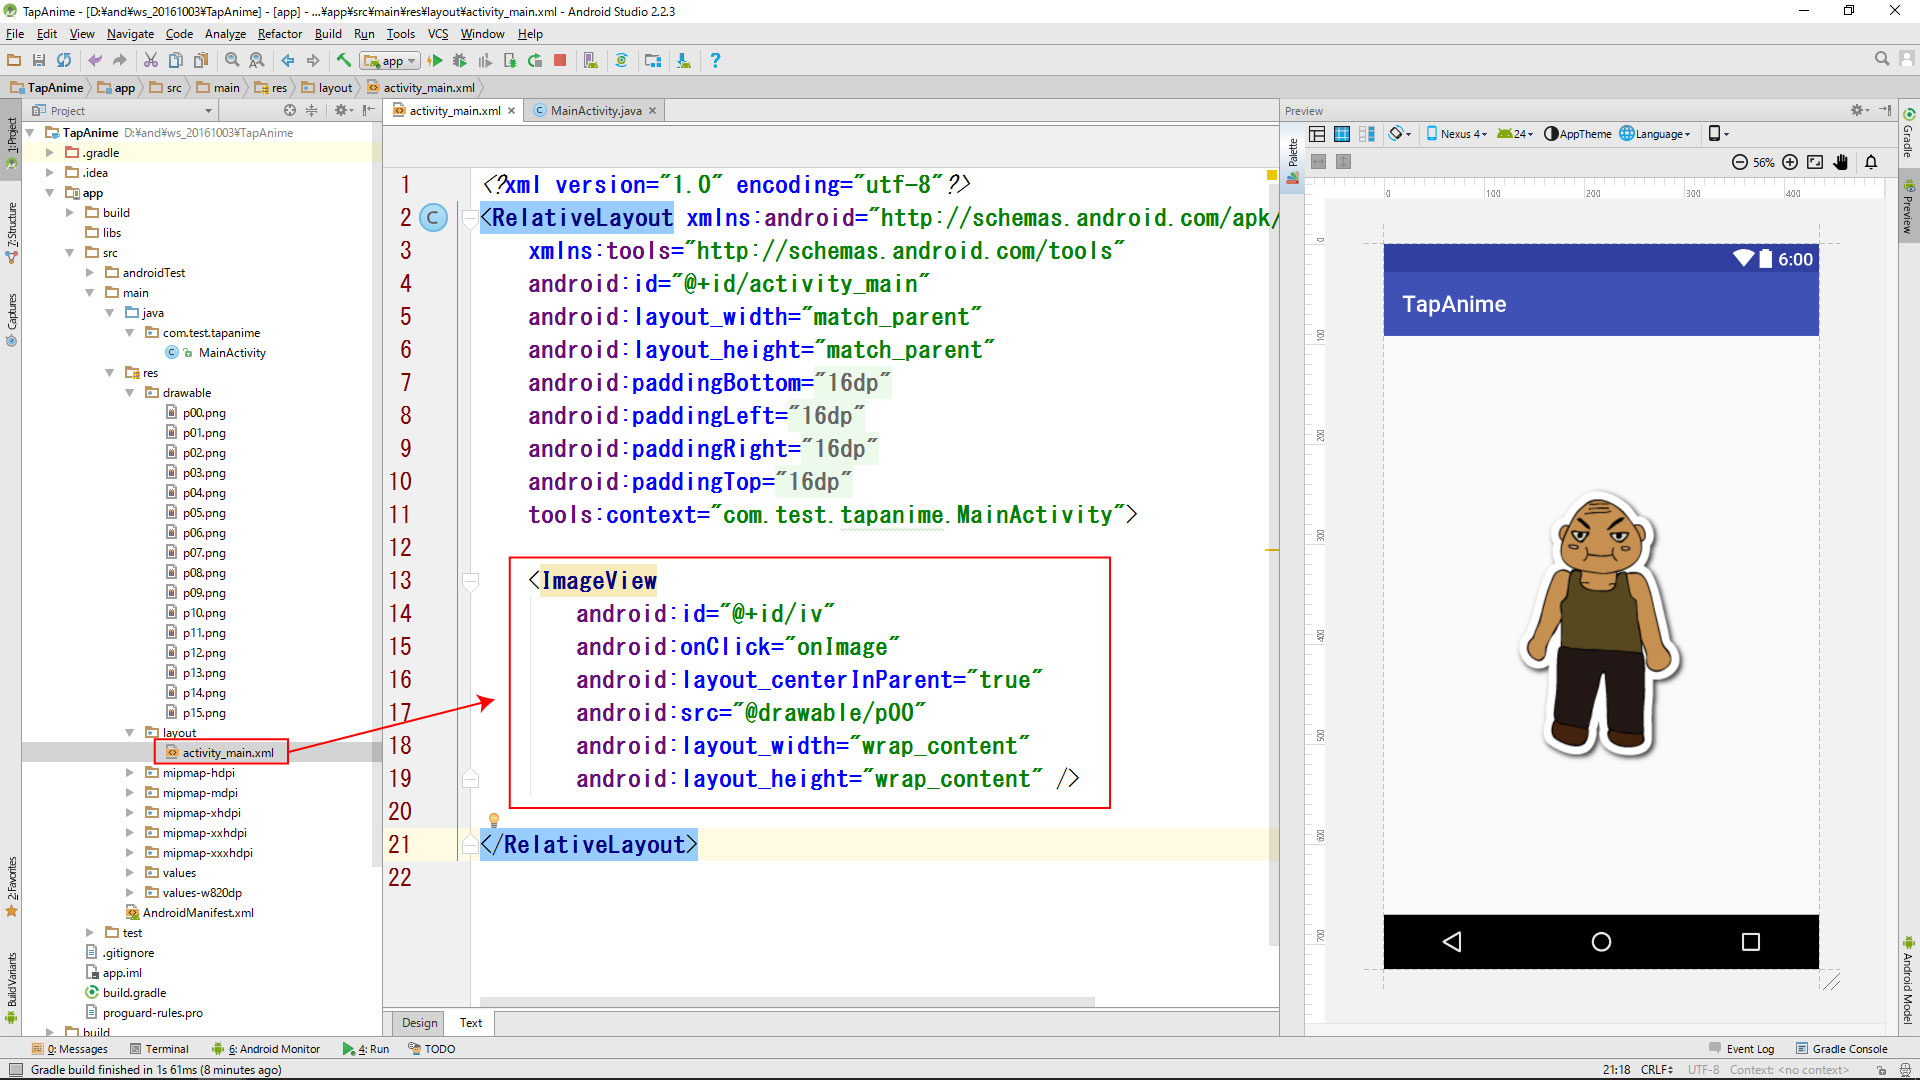
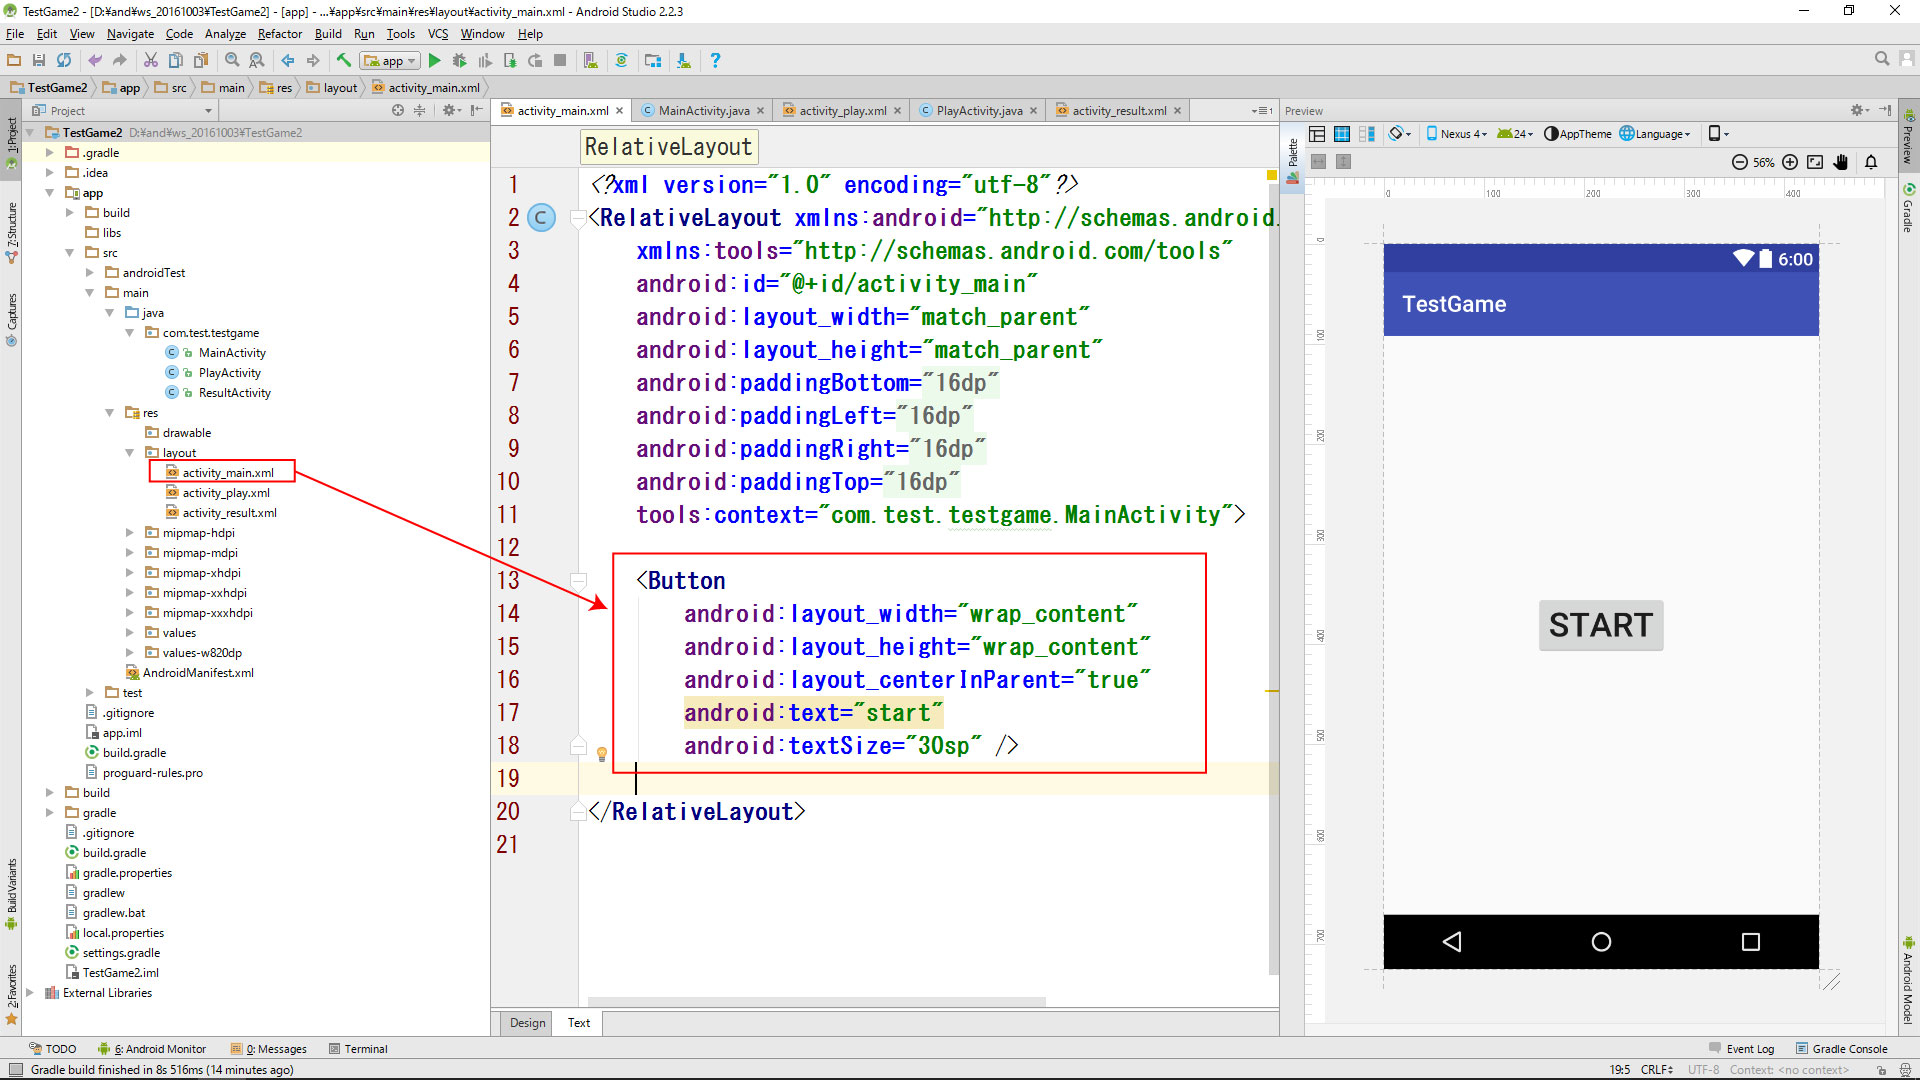
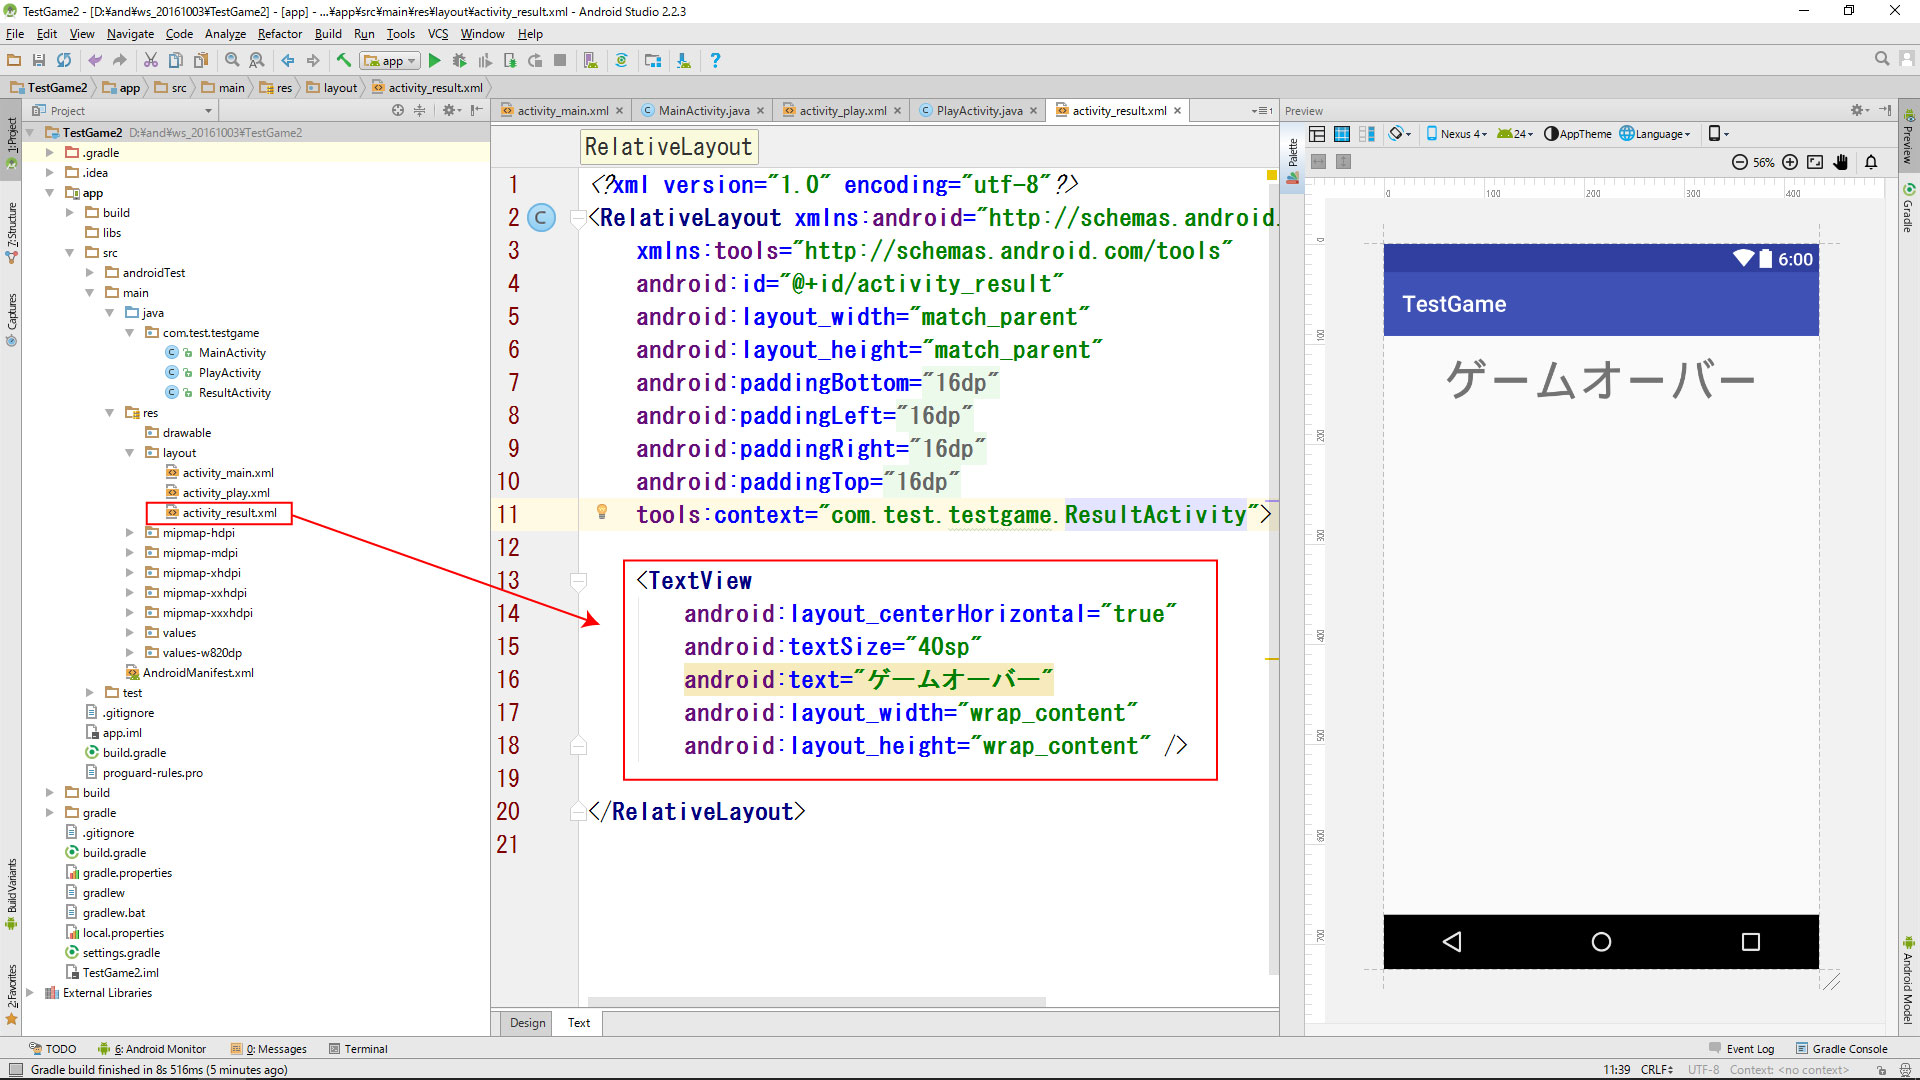
activity_main.xml

<?xml version="1.0" encoding="utf-8"?>
<RelativeLayout xmlns:android="http://schemas.android.com/apk/res/android"
    xmlns:tools="http://schemas.android.com/tools"
    android:id="@+id/activity_main"
    android:layout_width="match_parent"
    android:layout_height="match_parent"
    android:paddingBottom="@dimen/activity_vertical_margin"
    android:paddingLeft="@dimen/activity_horizontal_margin"
    android:paddingRight="@dimen/activity_horizontal_margin"
    android:paddingTop="@dimen/activity_vertical_margin"
    tools:context="com.test.listapp.MainActivity">

   <ListView
        android:entries="@array/name"
       android:layout_width="match_parent"
       android:layout_height="match_parent">
   </ListView>

</RelativeLayout>