Android アプリ開発の【オプションメニューの利用】を解説しているページです。
【 動画リスト 】
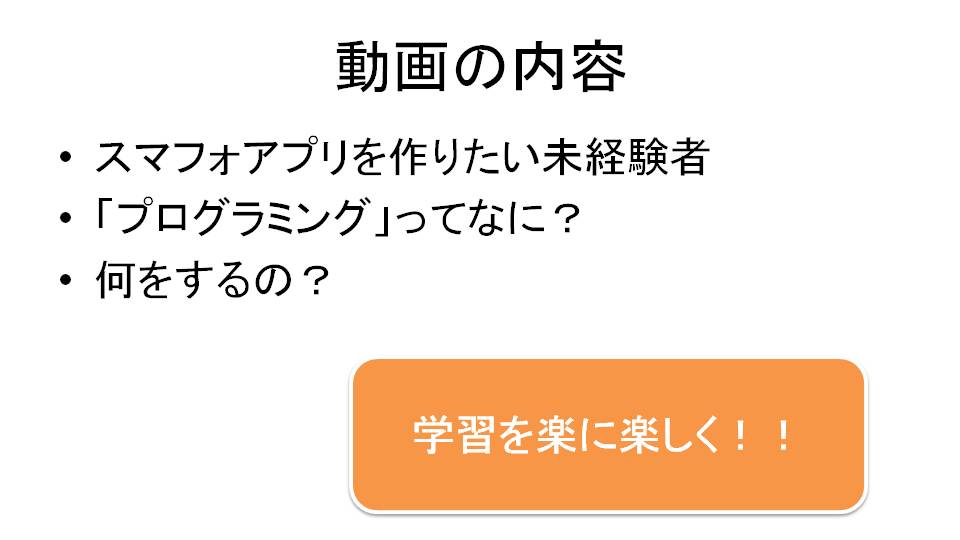
- 1/6 はじめに
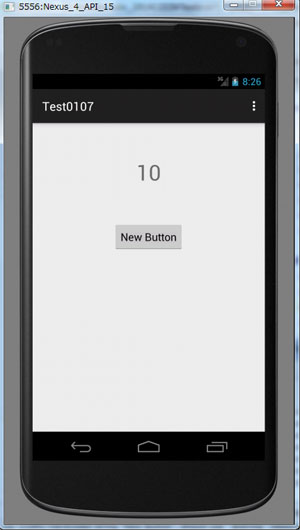
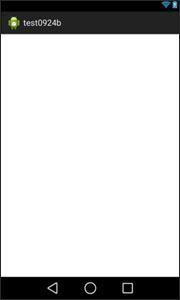
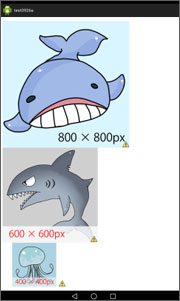
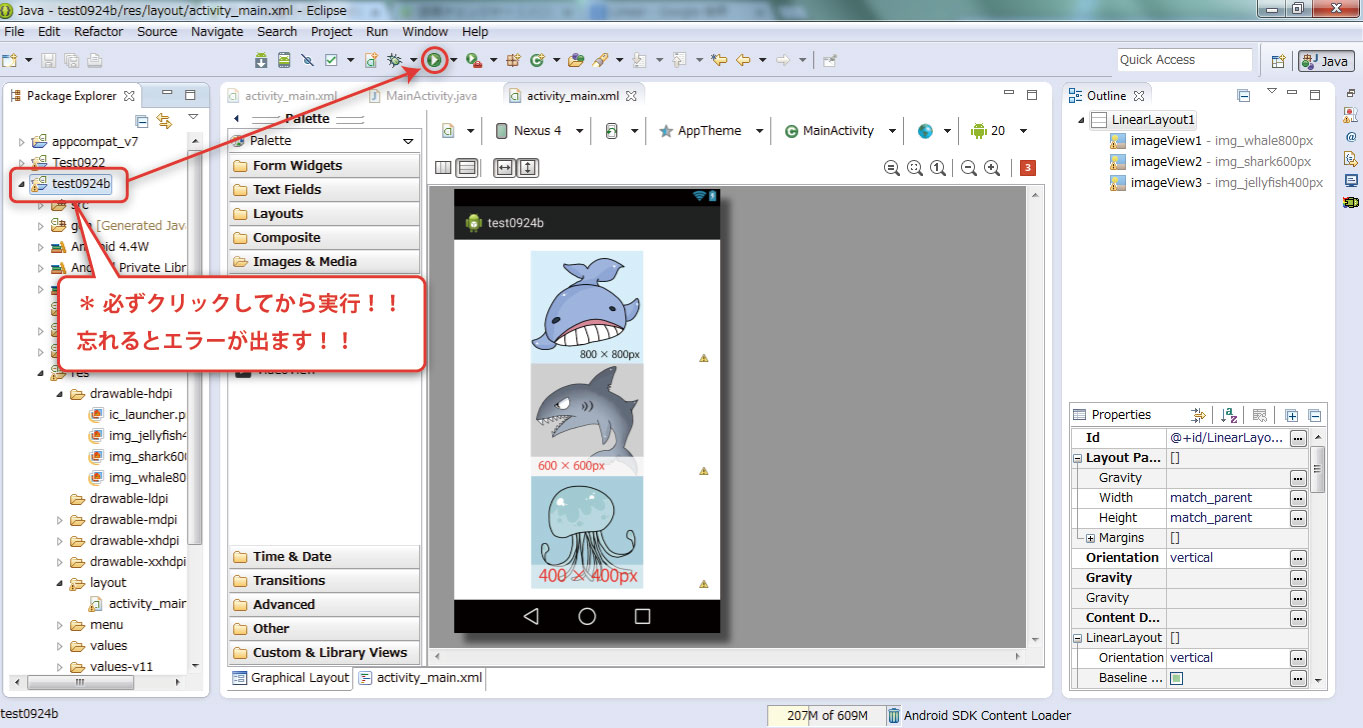
- 2/6 新規作成と画像の表示
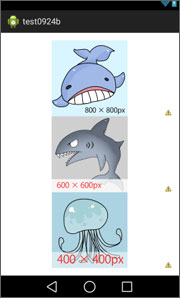
- 3/6 メニューを押したらが画像が変わる
- 4/6 メニューにアイテムを追加する
- 5/6 メニュー合わせて画像を変える
- 6/6 Eclipseで復習
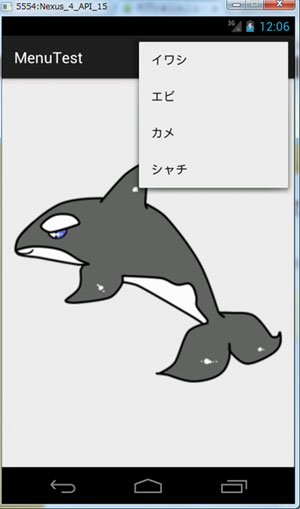
オプションメニューを押したら連動した画像が表示されます。
難易度:★★★★☆ ( 未経験者には理解も利用も困難 )
補 足:Android StudioとEclipseで確認済み
補 足:開発バージョンが違うと正常に動かない場合があります。
【 予備知識 】
以下の予備知識が必要です。
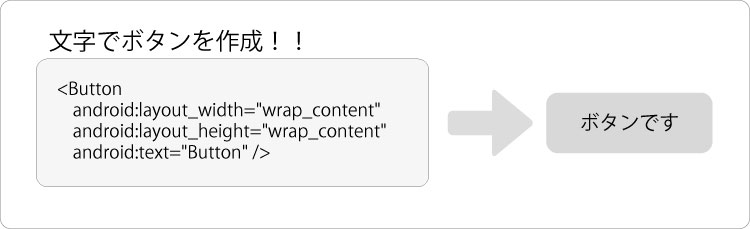
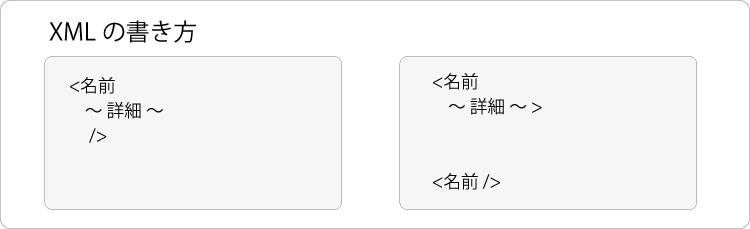
- XML
- 変数
- メソッド
- if
- id
【 流れ 】
- 新規アプリ作成
- 画像の表示 (activity_main.xml)
- メニューを押したら画像が変わる (MainActivity.java)
- メニューにアイテムを追加する (menu_main.xml)
- メニューアイテムに合わせて画像を変える (MainActivity.java)
- Eclipseで復習

※ 以下をパソコンの中に保存してください。


<RelativeLayout xmlns:android="http://schemas.android.com/apk/res/android"
xmlns:tools="http://schemas.android.com/tools"
android:layout_width="match_parent"
android:layout_height="match_parent"
android:paddingLeft="@dimen/activity_horizontal_margin"
android:paddingRight="@dimen/activity_horizontal_margin"
android:paddingTop="@dimen/activity_vertical_margin"
android:paddingBottom="@dimen/activity_vertical_margin"
tools:context=".MainActivity">
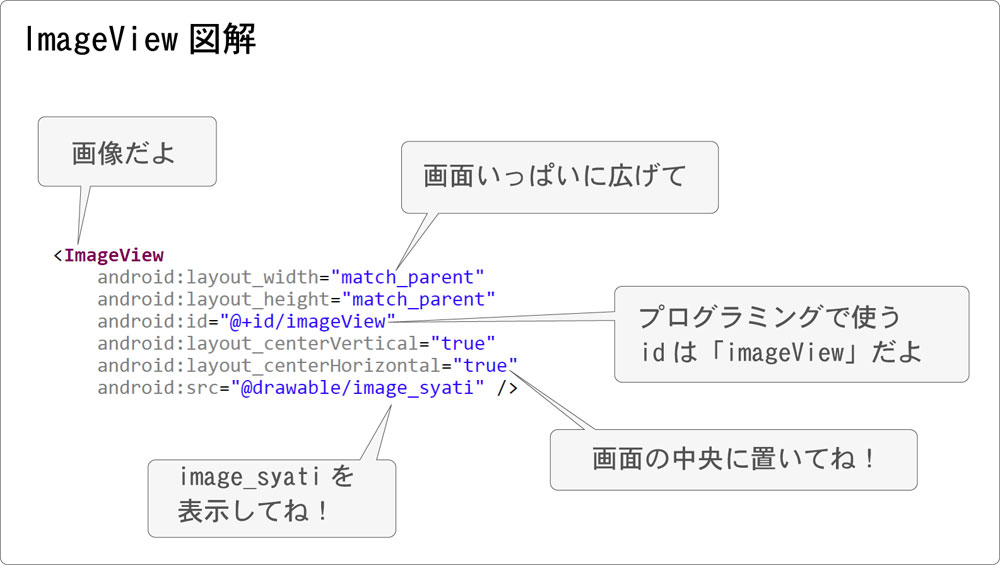
<ImageView
android:layout_width="match_parent"
android:layout_height="match_parent"
android:id="@+id/imageView"
android:layout_centerVertical="true"
android:layout_centerHorizontal="true"
android:src="@drawable/image_syati" />
</RelativeLayout>

<menu xmlns:android="http://schemas.android.com/apk/res/android"
xmlns:app="http://schemas.android.com/apk/res-auto"
xmlns:tools="http://schemas.android.com/tools"
tools:context=".MainActivity">
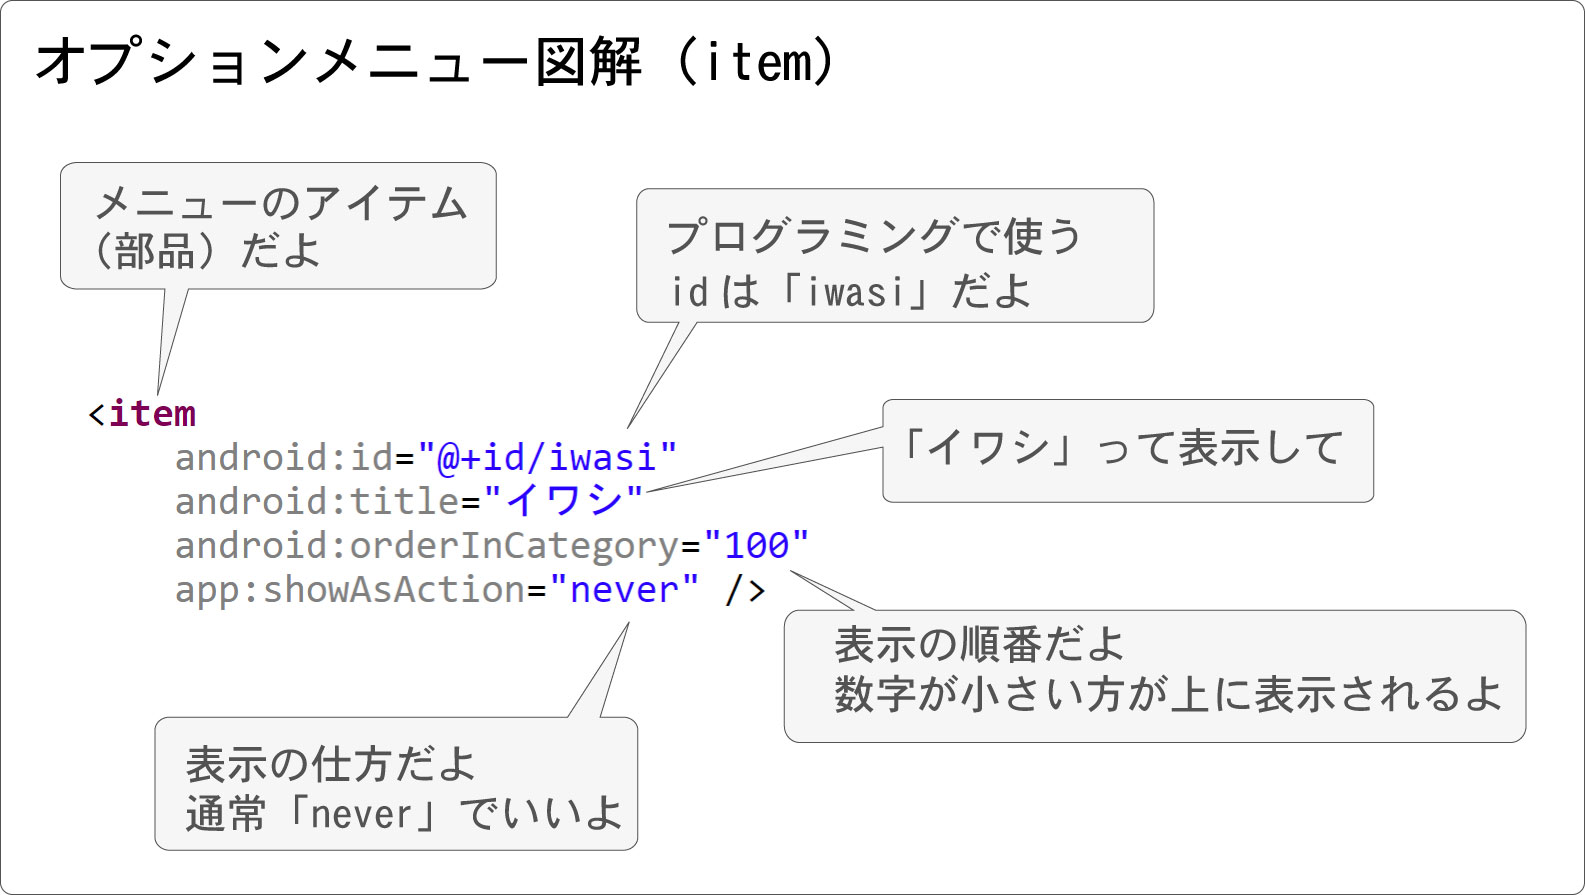
<item
android:id="@+id/iwasi"
android:title="イワシ"
android:orderInCategory="100"
app:showAsAction="never" />
<item
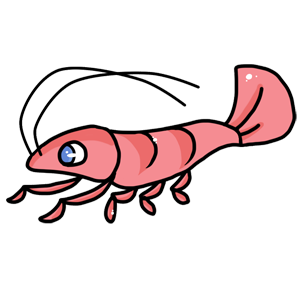
android:id="@+id/ebi"
android:title="エビ"
android:orderInCategory="200"
app:showAsAction="never" />
<item
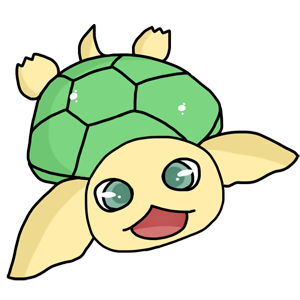
android:id="@+id/kame"
android:title="カメ"
android:orderInCategory="300"
app:showAsAction="never" />
<item
android:id="@+id/syati"
android:title="シャチ"
android:orderInCategory="400"
app:showAsAction="never" />
</menu>

package com.text.menutest;

import android.support.v7.app.ActionBarActivity;
import android.os.Bundle;
import android.view.Menu;
import android.view.MenuItem;
import android.widget.ImageView;     // 3・インポート必要

public class MainActivity extends ActionBarActivity {

    @Override
    protected void onCreate(Bundle savedInstanceState) {
        super.onCreate(savedInstanceState);
        setContentView(R.layout.activity_main);
    }


     // 4・オプションメニューの作成
    @Override
    public boolean onCreateOptionsMenu(Menu menu) {
        // 4・res → menu → menu_main.xml をメニューに設定
        getMenuInflater().inflate(R.menu.menu_main, menu);
        return true;
    }

    // 3・オプションメニューが押されたら
    @Override
    public boolean onOptionsItemSelected(MenuItem item) {

        // 3・画像変更の準備
        ImageView iv = (ImageView)findViewById(R.id.imageView);
        // 3・イワシの画像に変更(説明用:後で削除)
        iv.setImageResource(R.drawable.image_iwasi);

        // 5・メニューの押されたアイテムidを取得
        int id = item.getItemId();

        // id iwasi(イワシ)が押されたら
        if (id == R.id.iwasi) {
            // イワシの画像に変更(本番)
            iv.setImageResource(R.drawable.image_iwasi);
            // 正常終了
            return true;
        }

        // id ebi(エビ)が押されたら
        if (id == R.id.ebi) {
            // エビの画像に変更
            iv.setImageResource(R.drawable.image_ebi);
            return true;
        }

        // id kame(カメ)が押されたら
        if (id == R.id.kame) {
            // カメの画像に変更
            iv.setImageResource(R.drawable.image_kame);
            return true;
        }

        // シャチは非掲載です。挑戦してみてくださいね!

        return super.onOptionsItemSelected(item);
    }
}