カウントダウンタイマーを学習します。
細かく理解するには「Java中級」程度の知識が必要ですが、再現だけならカンタンです。
【 注意事項 】
この動画には問題点もあります。
以下と組み合わせてご覧ください。
・カウントダウンタイマー① 10秒で終了
・カウントダウンタイマー② 画面切り替え
・カウントダウンタイマー③ 画面再表示
・カウントダウンタイマー④ 改正版
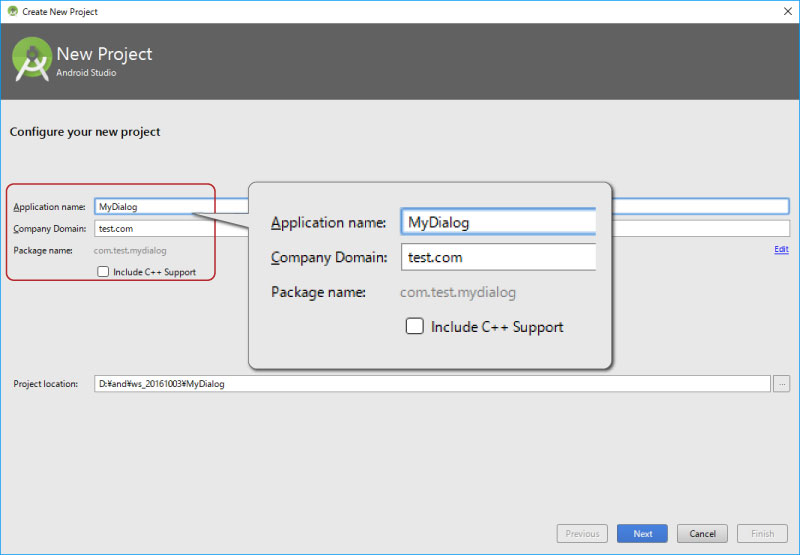
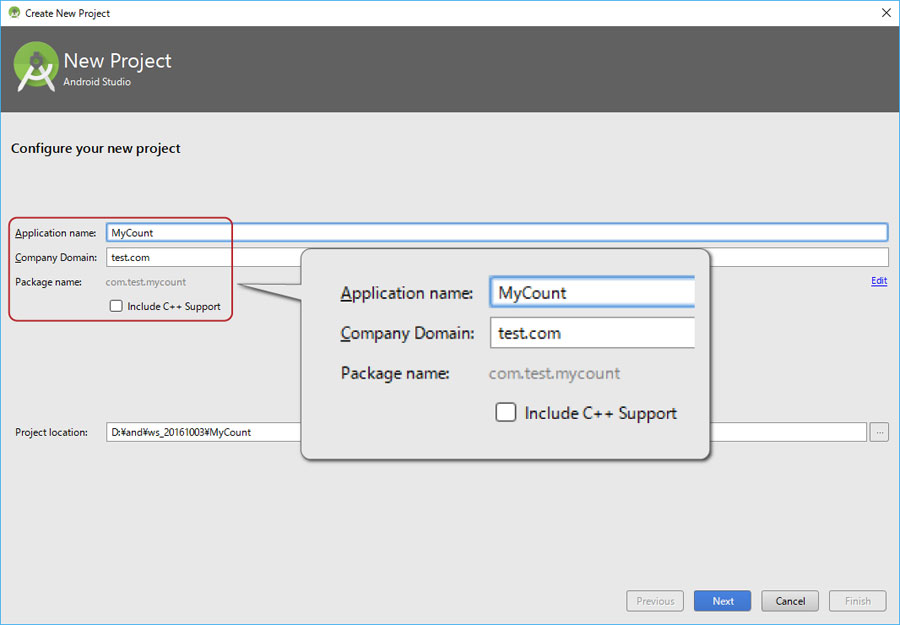
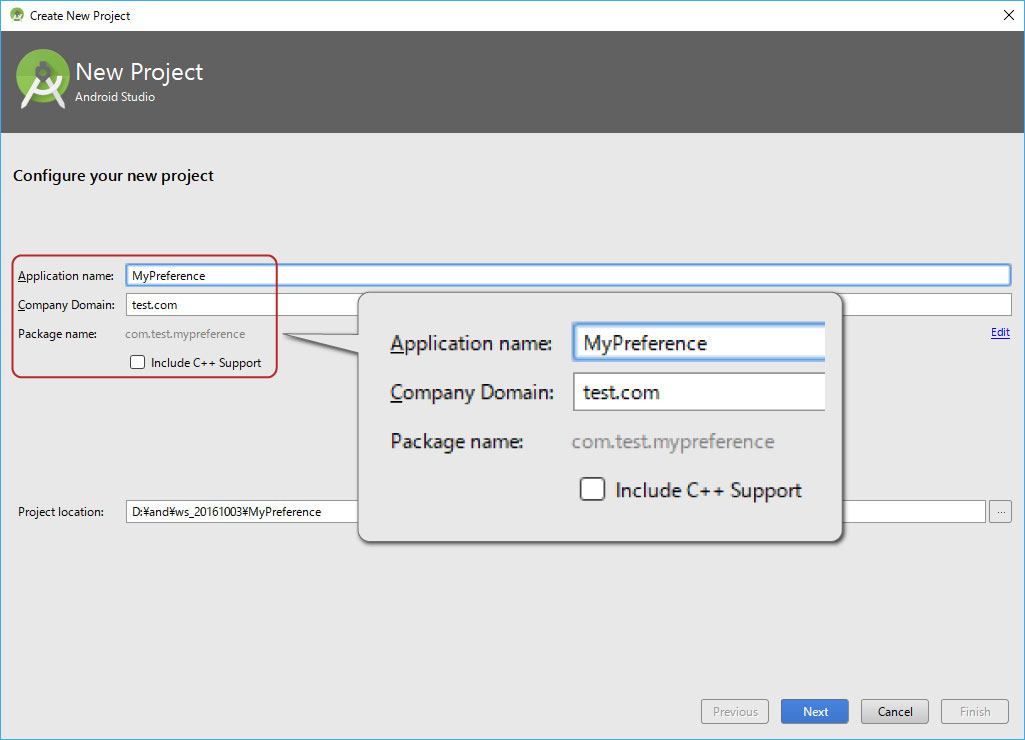
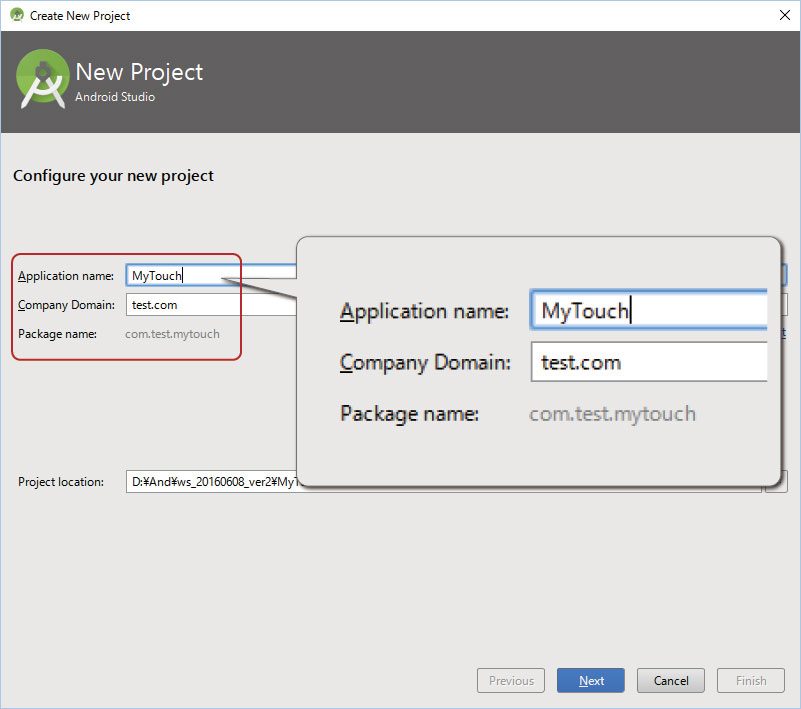
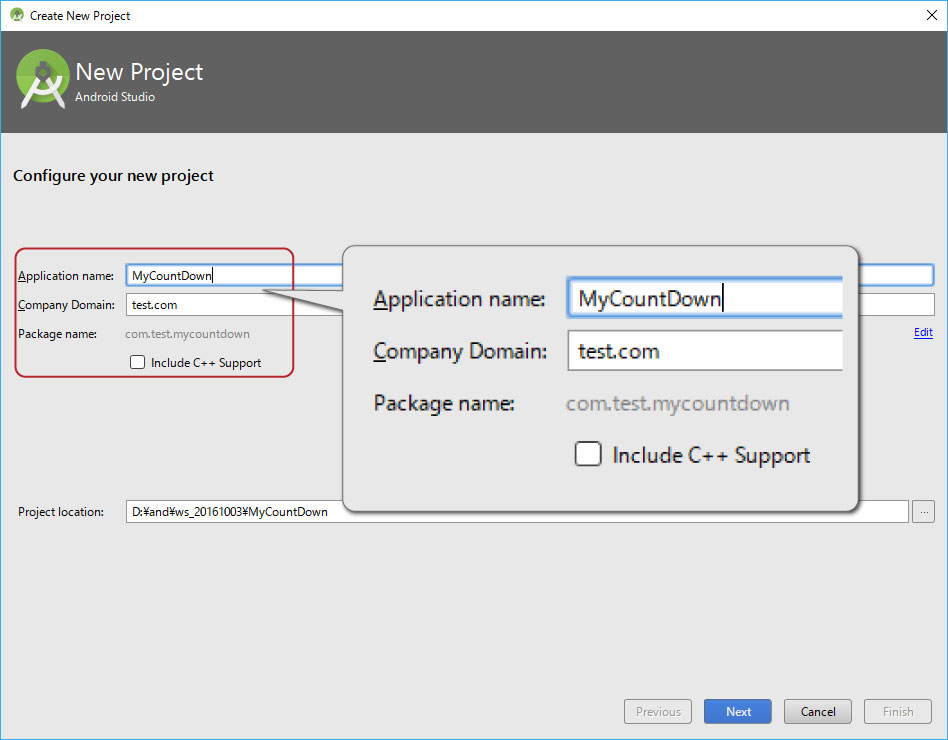
プロジェクト名
プロジェクト、カンパニードメイン、パッケージネームを同じにするとコピペエラーが減ります。
Application name MyCountDown
Company Domain test.com
Package name com.test.mycountdown
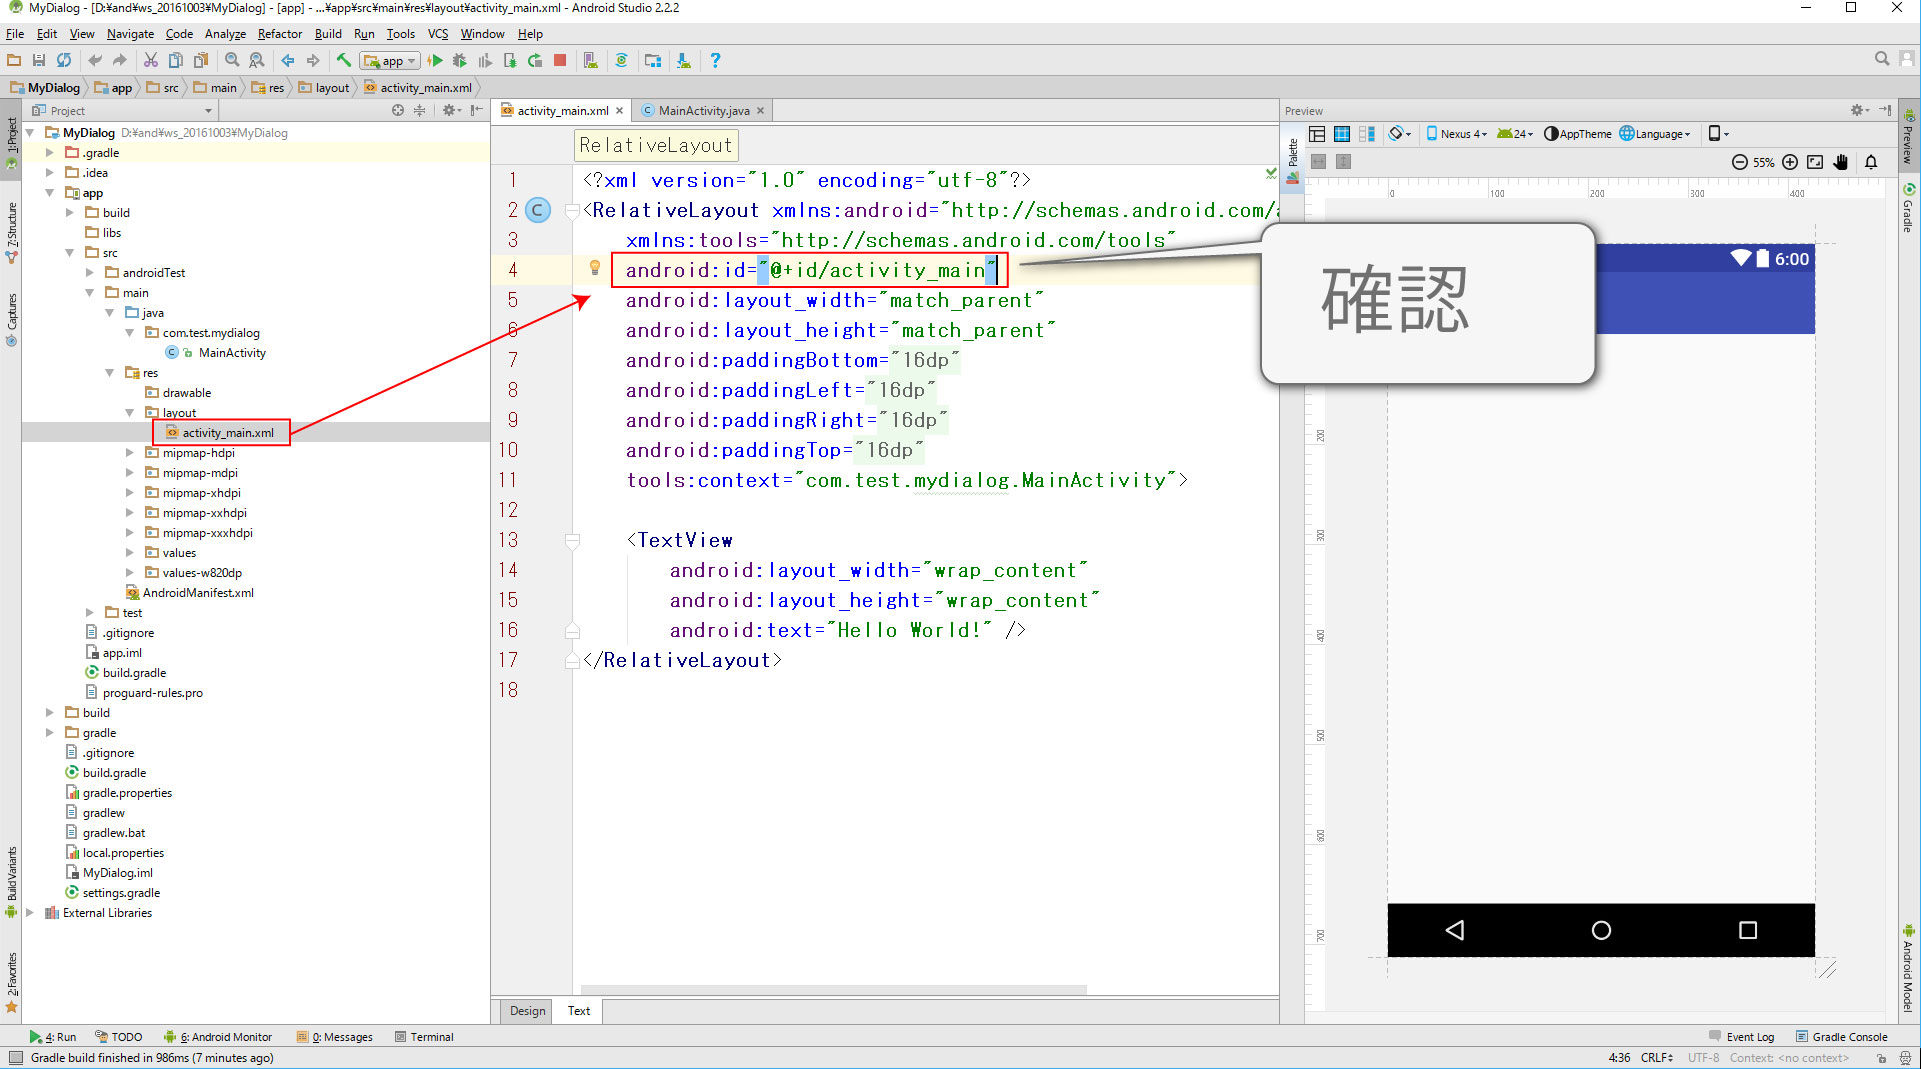
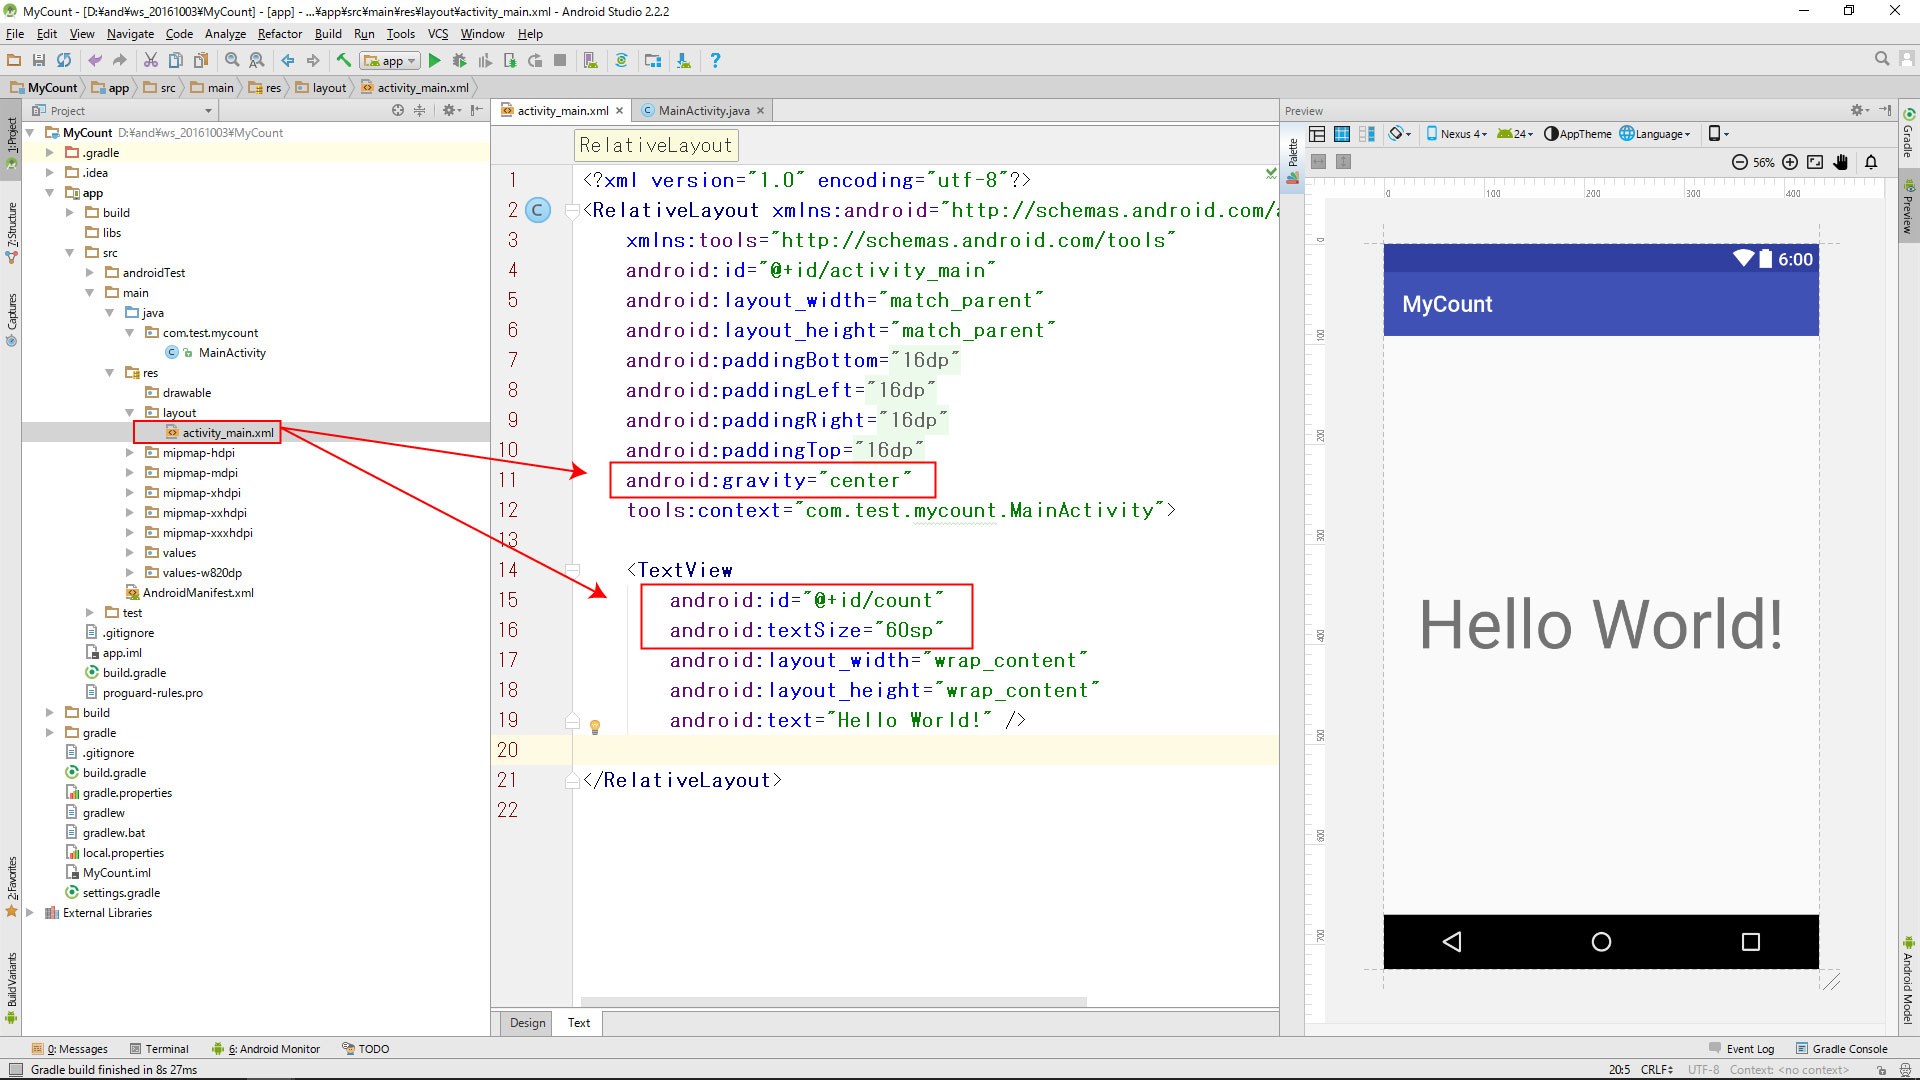
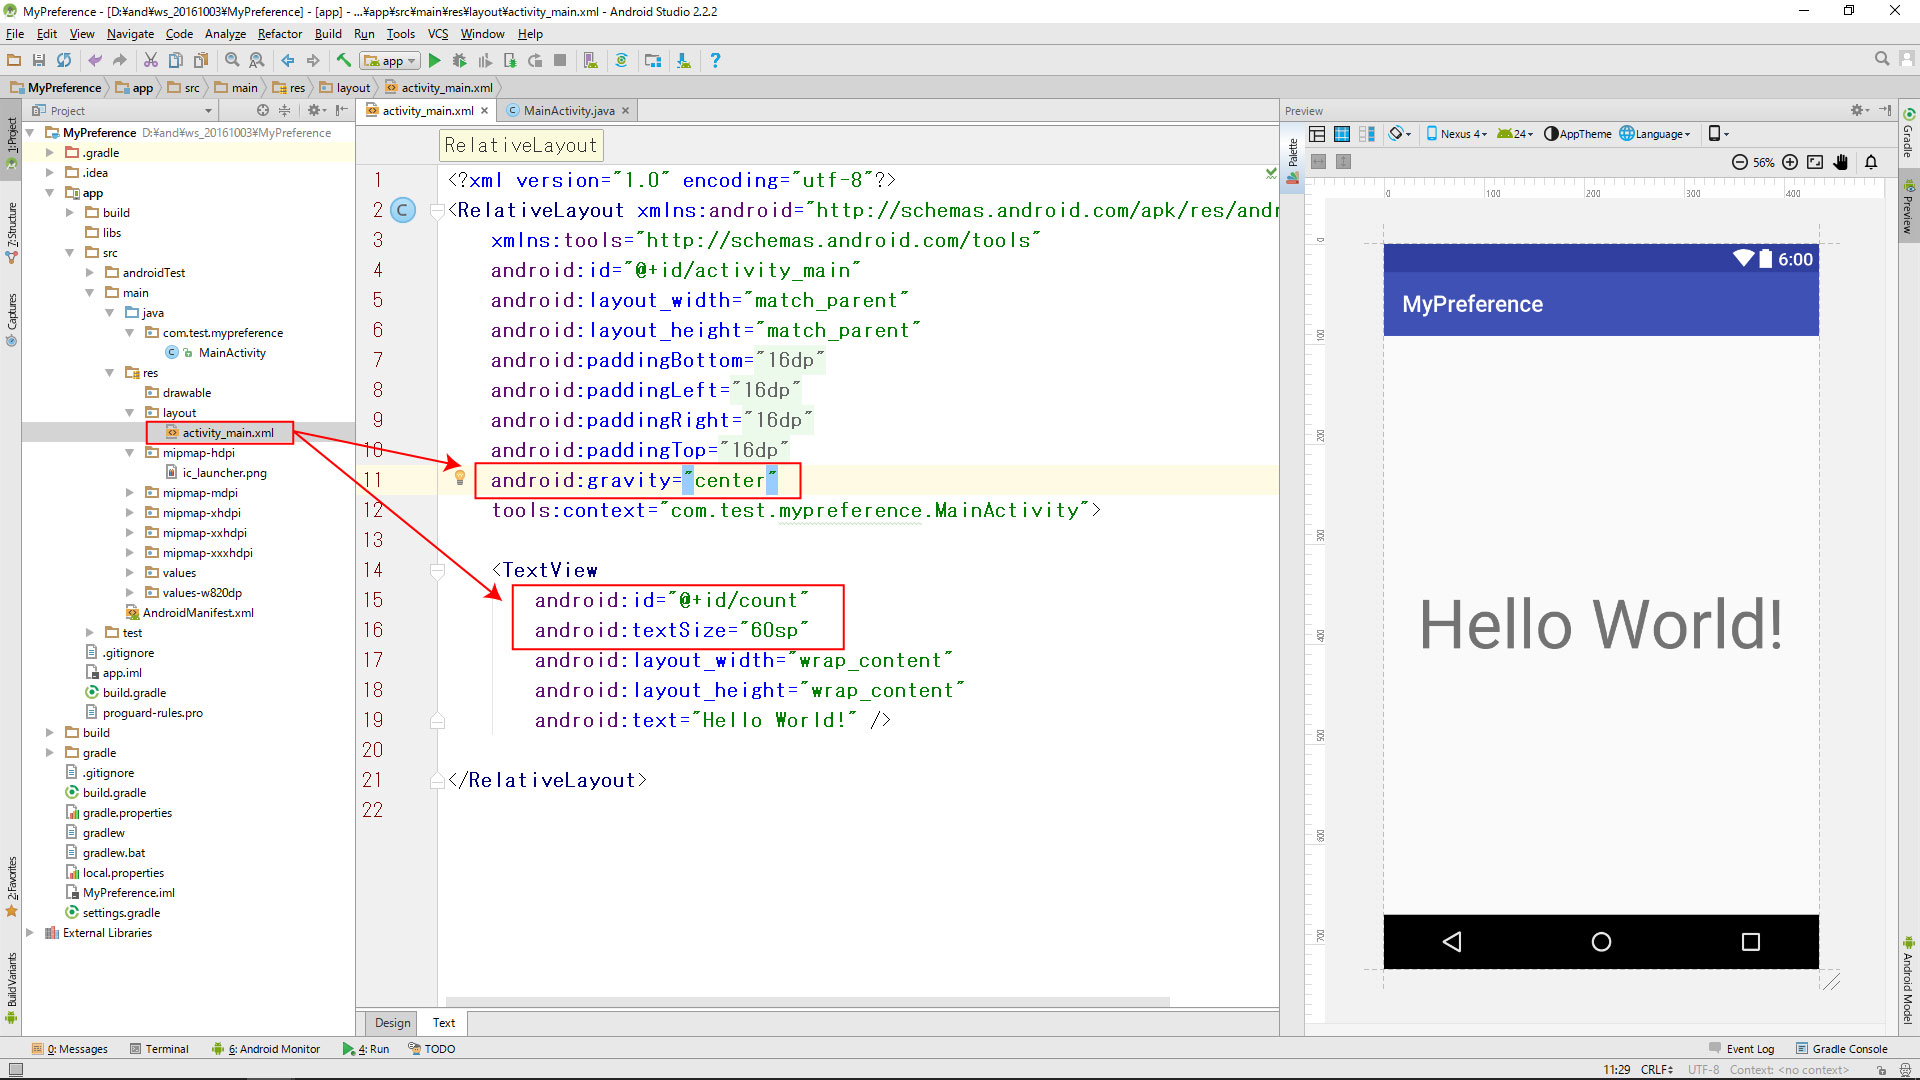
activity_main.xml (完成)

<?xml version="1.0" encoding="utf-8"?>
<RelativeLayout xmlns:android="http://schemas.android.com/apk/res/android"
    xmlns:tools="http://schemas.android.com/tools"
    android:id="@+id/activity_main"
    android:layout_width="match_parent"
    android:layout_height="match_parent"
    android:paddingBottom="@dimen/activity_vertical_margin"
    android:paddingLeft="@dimen/activity_horizontal_margin"
    android:paddingRight="@dimen/activity_horizontal_margin"
    android:paddingTop="@dimen/activity_vertical_margin"
    tools:context="com.test.mycountdown.MainActivity">

    <TextView
        android:id="@+id/tv"
        android:textSize="30sp"
        android:layout_width="wrap_content"
        android:layout_height="wrap_content"
        android:text="Hello World!" />
</RelativeLayout>
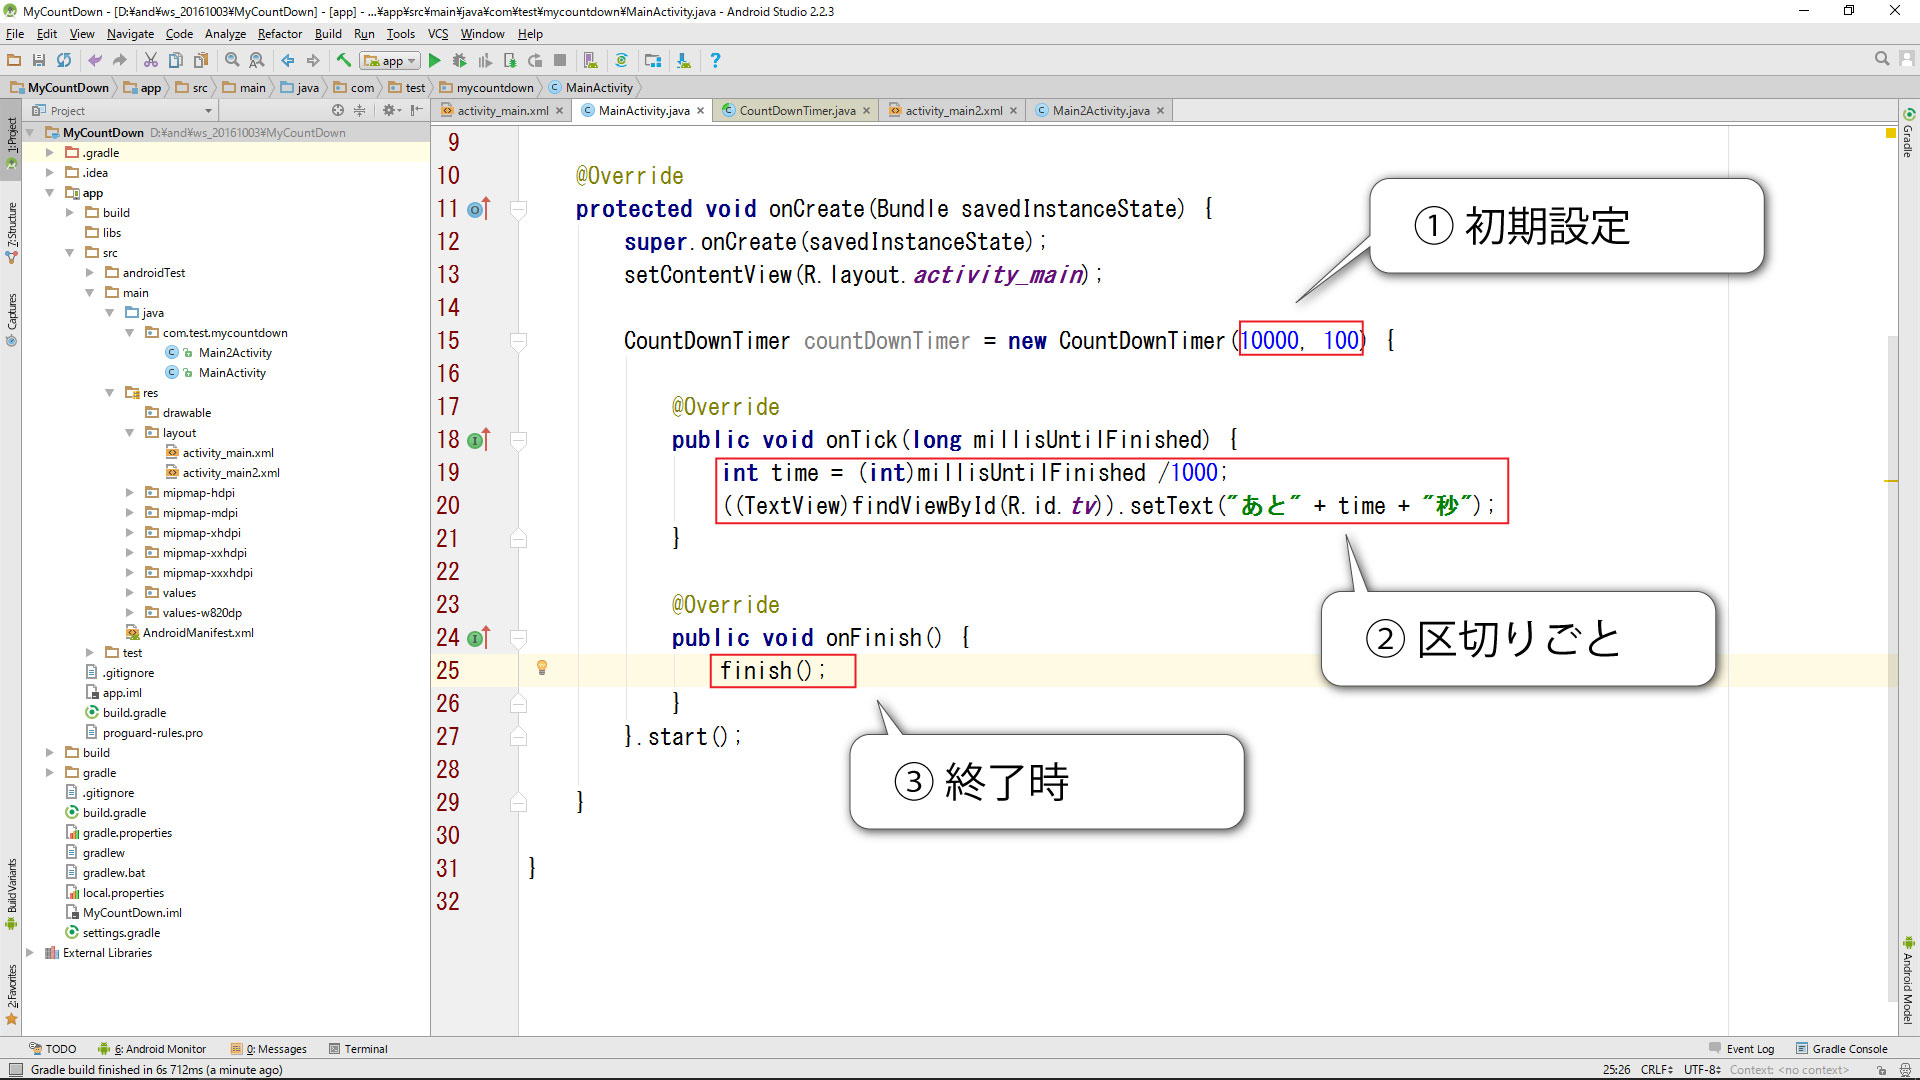
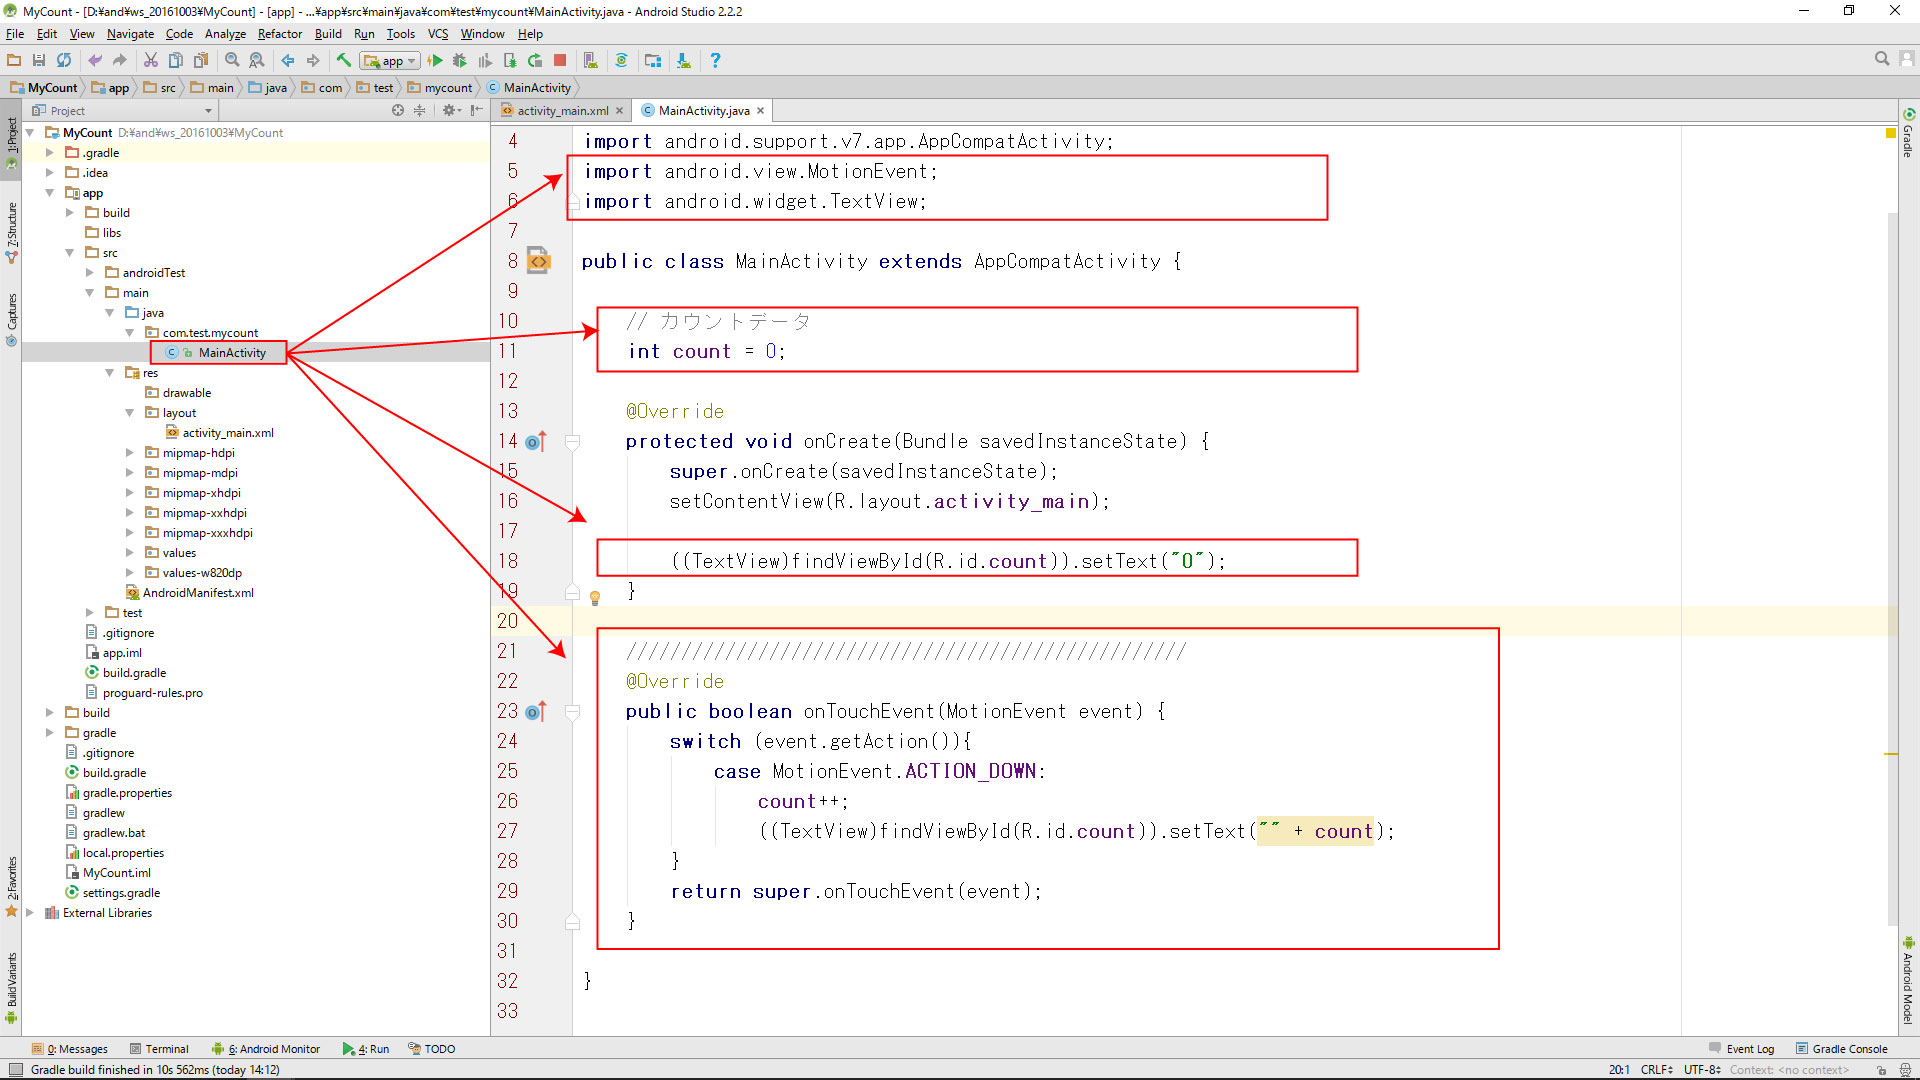
MainActivity.java(完成)
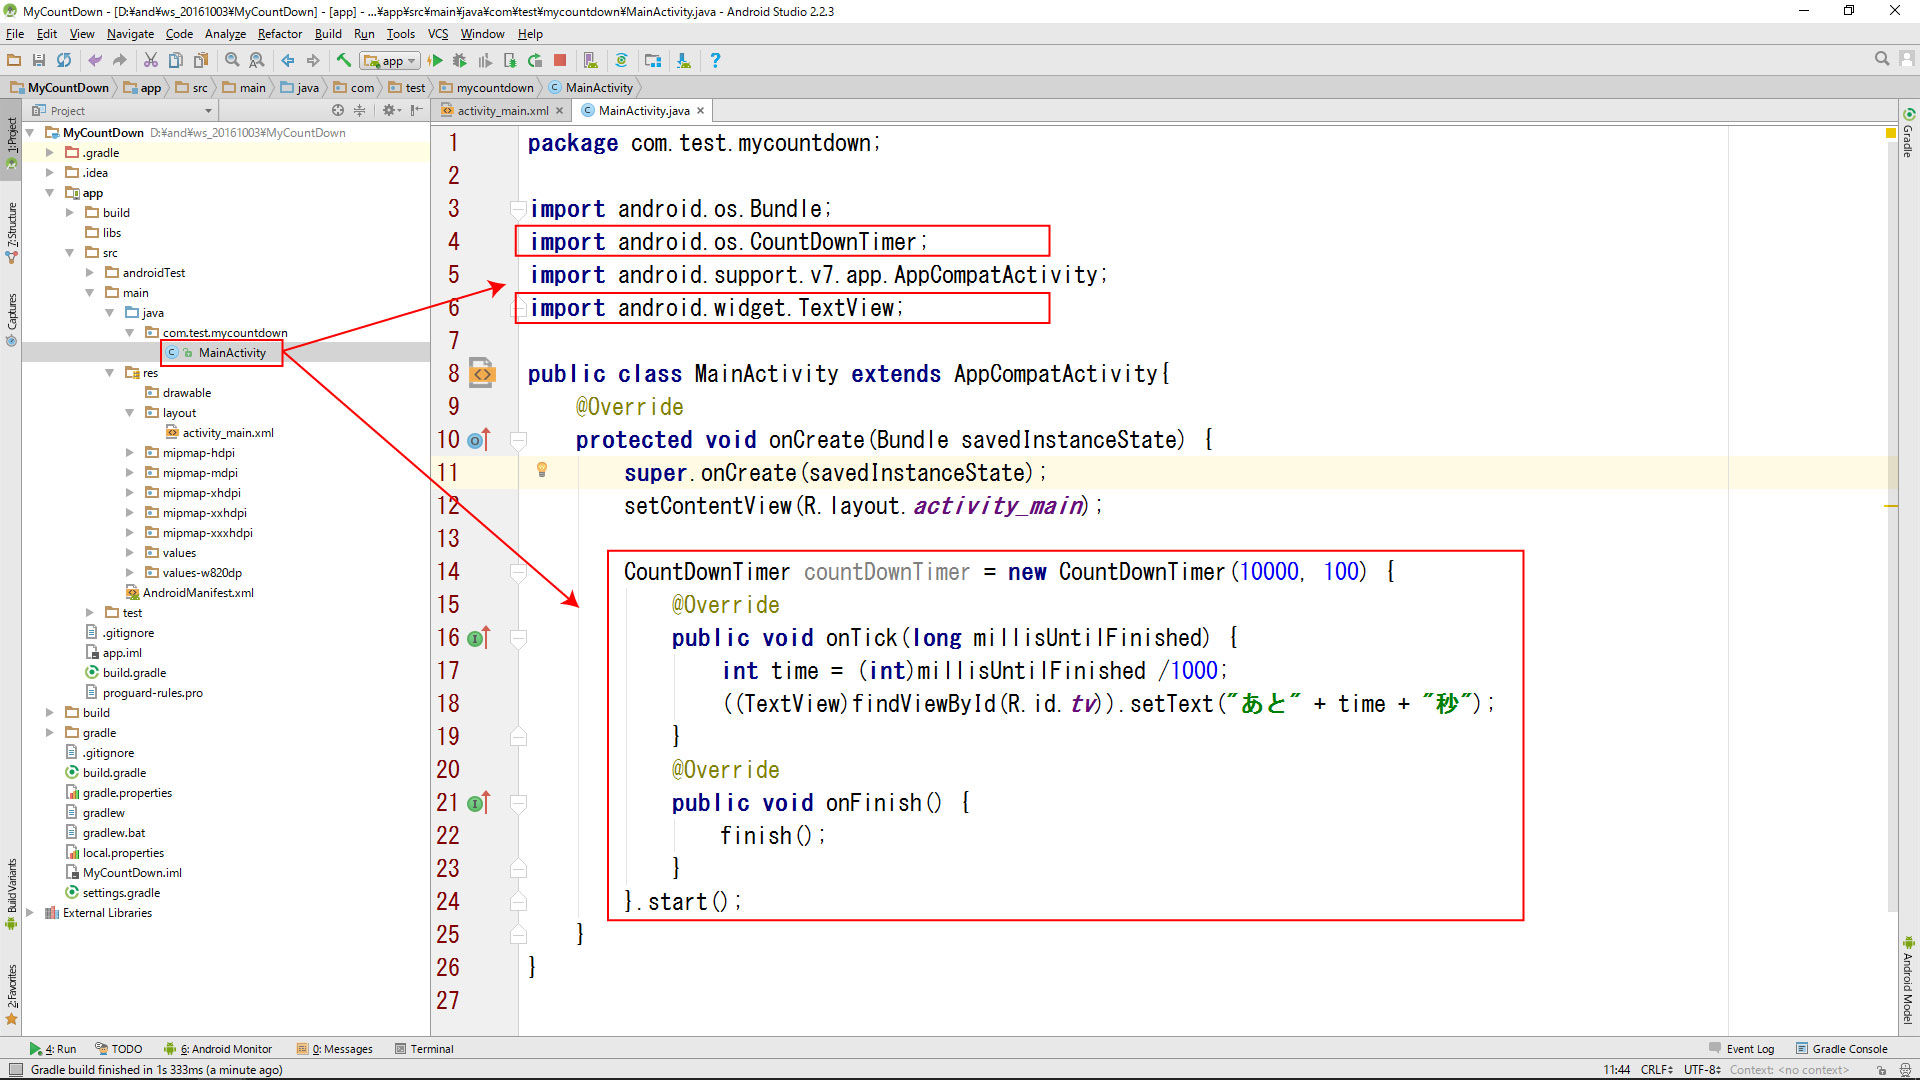
package com.test.mycountdown;

import android.os.Bundle;
import android.os.CountDownTimer;
import android.support.v7.app.AppCompatActivity;
import android.widget.TextView;

public class MainActivity extends AppCompatActivity{
    @Override
    protected void onCreate(Bundle savedInstanceState) {
        super.onCreate(savedInstanceState);
        setContentView(R.layout.activity_main);

        CountDownTimer countDownTimer = new CountDownTimer(10000, 100) {
            @Override
            public void onTick(long millisUntilFinished) {
                int time = (int)millisUntilFinished /1000;
                ((TextView)findViewById(R.id.tv)).setText("あと" + time + "秒");
            }
            @Override
            public void onFinish() {
                finish();
            }
        }.start();
    }
}
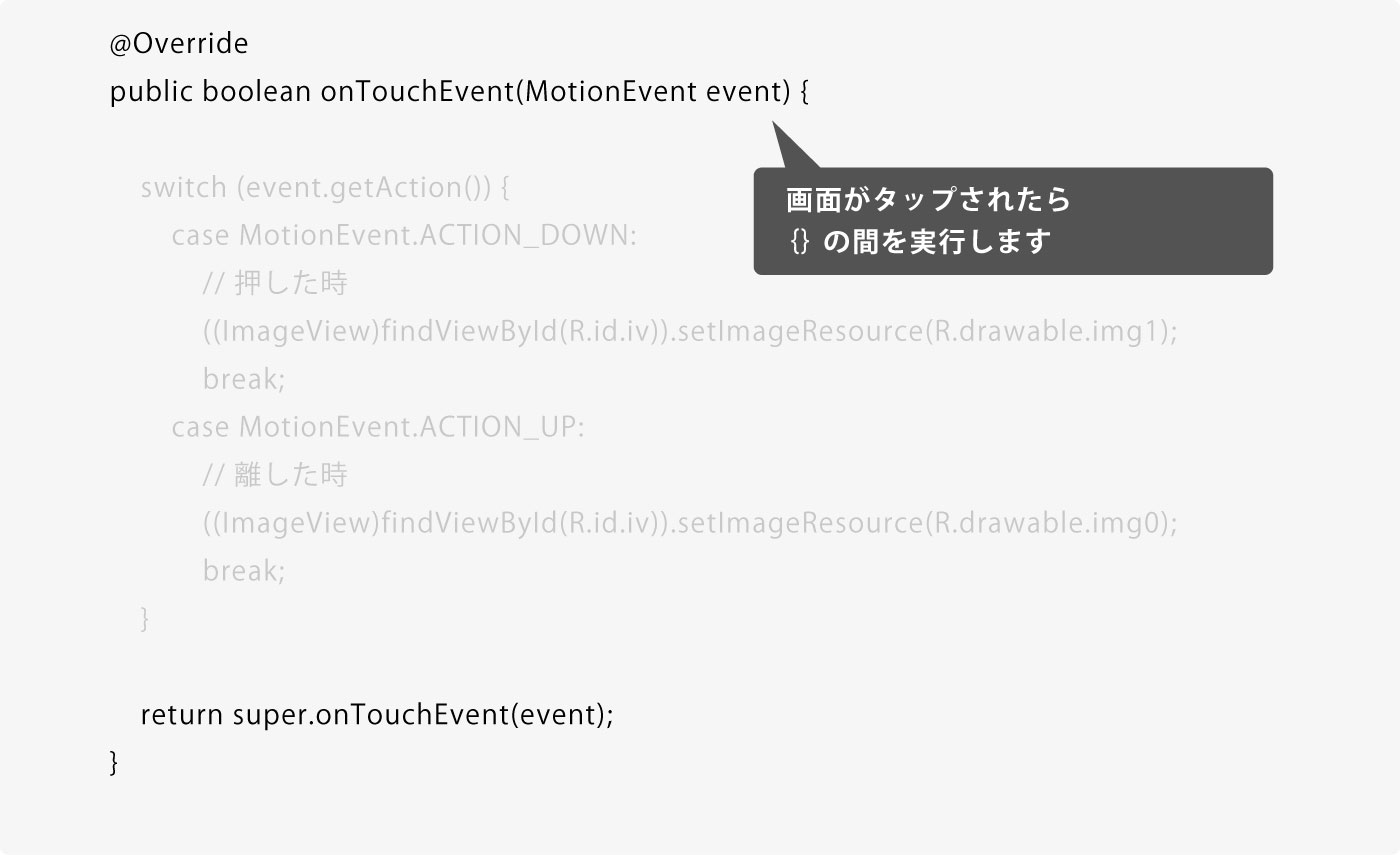
CountDownTimer 図解